Deploy Windows Admin Center with high availability
に基づいて構成します。
High-availability deployment scriptsのスクリプトを展開。
Windows Admin Centerのインストール用MSIファイルを相対パスなどで指定できる場所に置きます。というか両方同じサーバーに置く必要があります。以降の画像を見てもらえるとわかりますが、フェールオーバークラスターの1ノードだけで作業すればOKです。

High-availability deployment scriptsのスクリプトには、インストール、アップデート、アンインストールが用意されています。
では、インストールのスクリプトを使います。


インストールは5分ほどで完了です。

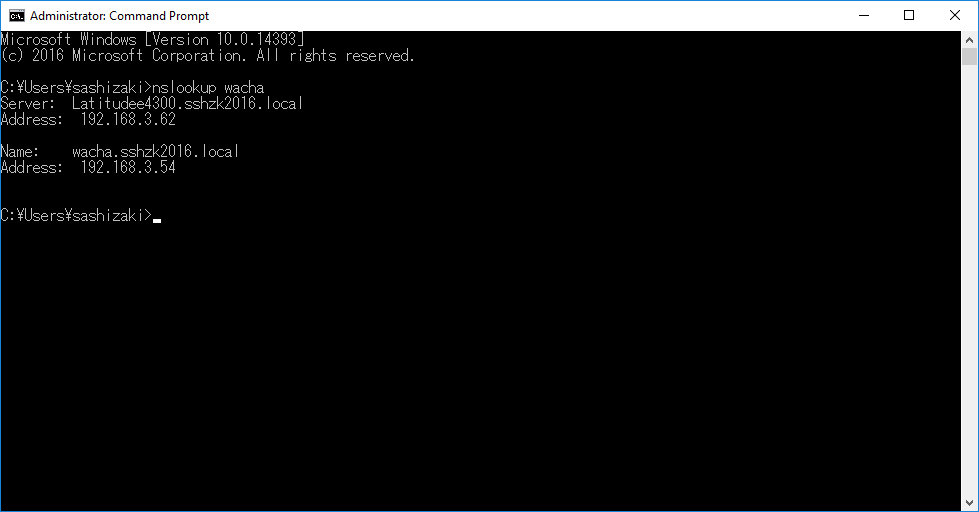
DNS登録済み。

クラスターのコンピュータアカウントとして登録済み。

フェールオーバークラスターのサービス名としても登録済み。

Webアクセスポイントにアクセスすると、ツアーの画面が出まーす。


さて、
Interact 2018
では、この記事の内容に加え、インストール用スクリプトの中身、インストール先のデータフォルダー配置、容量、証明書の変更なども突っ込んでご説明いたします~
に基づいて構成します。
- 2ノードのWindows Server 2016 failover Cluster
iSCSIターゲットでクォーラムとCSV用のストレージを用意し、つないでみました。
- 10GB以上のcluster shared volume (CSV)ということだったので、16GBのCSVを上記の通り用意しました。
- High-availability deployment scriptsのスクリプトをダウンロード。
- Windows Admin Centerのインストール用MSIファイル
High-availability deployment scriptsのスクリプトを展開。
Windows Admin Centerのインストール用MSIファイルを相対パスなどで指定できる場所に置きます。というか両方同じサーバーに置く必要があります。以降の画像を見てもらえるとわかりますが、フェールオーバークラスターの1ノードだけで作業すればOKです。

High-availability deployment scriptsのスクリプトには、インストール、アップデート、アンインストールが用意されています。
では、インストールのスクリプトを使います。


- -clusterStorage でCSVのパスを指定
- -clientAccessPoint でWebのアクセスポイント名を指定
ここで指定されたものが、クラスターのサービス名、DNSエントリーとして登録されます - -staticAddress でWebのアクセスポイント名用の静的IPアドレスを指定
- -msiPath でWindows Admin Centerのインストール用MSIファイルをパスで指定
- -generateSslCert で自己署名証明書の生成を指定
インストールは5分ほどで完了です。

DNS登録済み。
クラスターのコンピュータアカウントとして登録済み。

フェールオーバークラスターのサービス名としても登録済み。

Webアクセスポイントにアクセスすると、ツアーの画面が出まーす。


さて、
Interact 2018
では、この記事の内容に加え、インストール用スクリプトの中身、インストール先のデータフォルダー配置、容量、証明書の変更なども突っ込んでご説明いたします~
0 件のコメント:
コメントを投稿