Windows Admin Center から Azure インテグレーションを設定する 1. はじめに準備
で、 Azure との連携が終わったので、Azure Backupをセットアップします。
※Windows Admin Center から Azure インテグレーションを設定する 1. はじめに準備の追記で記載した通り、追加のアクセス権設定を忘れないでください。
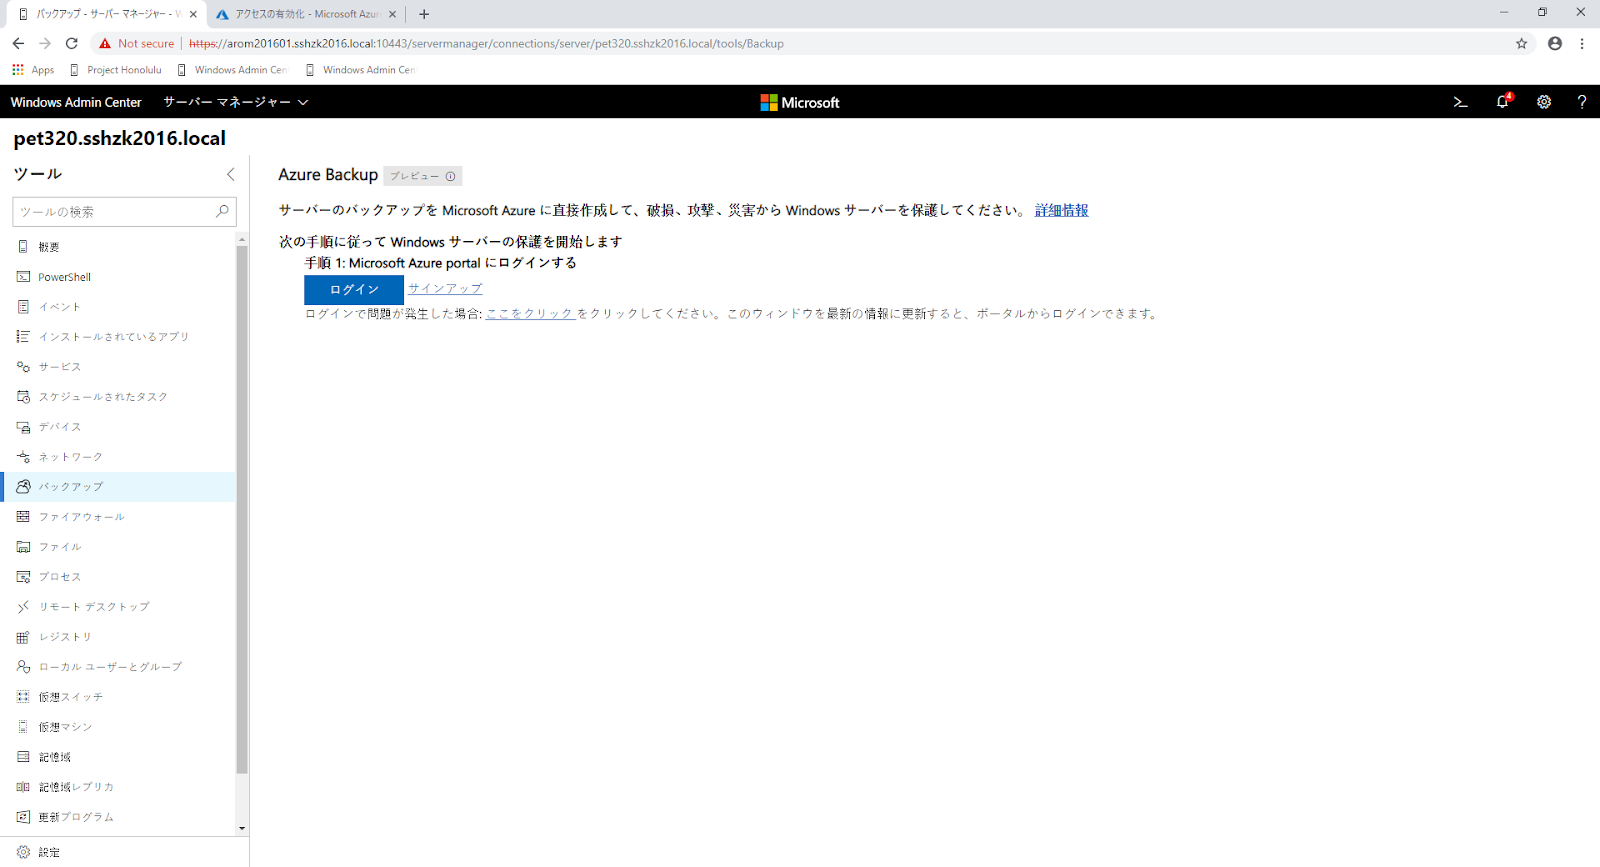
セットアップを開始します。

[ログイン]をクリックします。

Azure 連携で使用したユーザーで認証します。

※Windows Admin Center から Azure インテグレーションを設定する 1. はじめに準備の追記で記載した、追加のアクセス権設定を忘れると、下記の画面が出ます。ご注意を!

バックアップ先を指定します。なおコンテナーやリソースグループは新規としました。

Cドライブと System State をバックアップ対象にします。
バックアップスケジュールは下記の通りとします。
最後に暗号化フレーズを入力し、[適用]をクリックします。

設定途中では、コンテナーを作成したり、

Azure Backup エージェントをセットアップしたり、

Azure Backup エージェントを登録等々しています。

設定完了。

バックアップ対象サーバーの Backup コンソールでも設定を確認できます。

Azure ポータルからもコンテナーの作成が確認できました。

以上、簡単に Azure Backup が利用できますので、お試しください!
で、 Azure との連携が終わったので、Azure Backupをセットアップします。
※Windows Admin Center から Azure インテグレーションを設定する 1. はじめに準備の追記で記載した通り、追加のアクセス権設定を忘れないでください。
セットアップを開始します。

[ログイン]をクリックします。
Azure 連携で使用したユーザーで認証します。

※Windows Admin Center から Azure インテグレーションを設定する 1. はじめに準備の追記で記載した、追加のアクセス権設定を忘れると、下記の画面が出ます。ご注意を!

バックアップ先を指定します。なおコンテナーやリソースグループは新規としました。

Cドライブと System State をバックアップ対象にします。
バックアップスケジュールは下記の通りとします。
最後に暗号化フレーズを入力し、[適用]をクリックします。

設定途中では、コンテナーを作成したり、

Azure Backup エージェントをセットアップしたり、

Azure Backup エージェントを登録等々しています。

設定完了。

バックアップ対象サーバーの Backup コンソールでも設定を確認できます。

Azure ポータルからもコンテナーの作成が確認できました。

以上、簡単に Azure Backup が利用できますので、お試しください!
0 件のコメント:
コメントを投稿