Update Rollup 6 for System Center 2016 が公開されました
みて、公開されたことに気づく。。。
Update Rollup 6 for System Center 2016 Virtual Machine Manager入れます。
Update Rollup 6 for System Center 2016 Virtual Machine Managerを参照して進めます。
例によって、Windows Updateで検出されるのを待っていられないので、Windows Update Catalogからファイルをダウンロードします。


ダウンロードで来たら、MSPファイルを取り出します。


VMMサーバー→VMMコンソールの順で、msiexec /update MSPファイル名を実行して、適用します。
VMMサーバーは、途中でサービスを止めて適用するか聞いてきます。本例では、止めて適用する法を選択し進めました。


各々数分あれば完了しますね。
Build numbers for VMM 2012 R2 and VMM 2016で、build番号を確認します。

VMMサーバー側、VMMコンソールへの適用は以上で終了。
本来であれば、Hyper-VホストのVMMエージェントをアップデートも行います。が、本環境は、すでにSCVMM Semi-annual ChannelでHyper-Vホストを管理しているのでここは省略します。
みて、公開されたことに気づく。。。
Update Rollup 6 for System Center 2016 Virtual Machine Manager入れます。
Update Rollup 6 for System Center 2016 Virtual Machine Managerを参照して進めます。
例によって、Windows Updateで検出されるのを待っていられないので、Windows Update Catalogからファイルをダウンロードします。

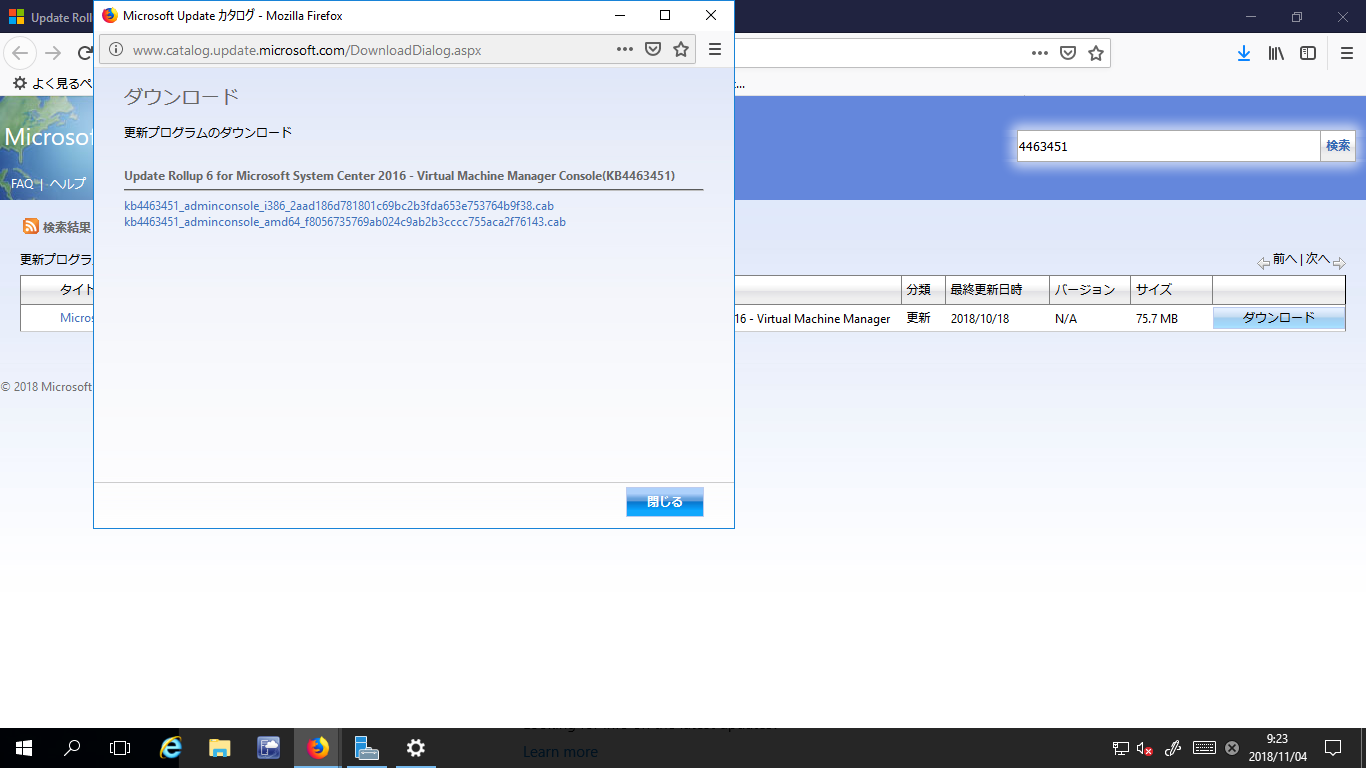
ダウンロードで来たら、MSPファイルを取り出します。


VMMサーバー→VMMコンソールの順で、msiexec /update MSPファイル名を実行して、適用します。
VMMサーバーは、途中でサービスを止めて適用するか聞いてきます。本例では、止めて適用する法を選択し進めました。


各々数分あれば完了しますね。
Build numbers for VMM 2012 R2 and VMM 2016で、build番号を確認します。

VMMサーバー側、VMMコンソールへの適用は以上で終了。
本来であれば、Hyper-VホストのVMMエージェントをアップデートも行います。が、本環境は、すでにSCVMM Semi-annual ChannelでHyper-Vホストを管理しているのでここは省略します。
0 件のコメント:
コメントを投稿