システム要件もSC 2016 OMと変わらず。Report Viewerも2015です。
SQL Server は、2016 SP1までのサポートなので、本稿ではそれをセットアップします。
※フィードバック用に英語版でセットアップしています、またAzure IaaS VMにつき、バイナリーは極力Eドライブにインストールします。ご了承ください。
左側の[Installation]をクリック

[New SQL Server stand-alone installation]をクリック

[Next]ボタンをクリック

ライセンス条項をチェックし、[Next]ボタンをクリック

アップデートはないと思いますが、とりあえずチェックして、[Next]ボタンをクリック

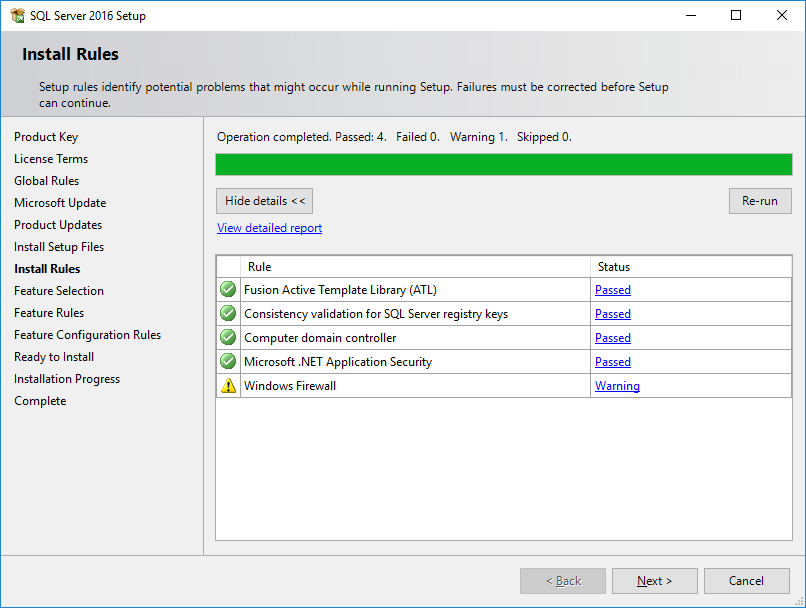
インストールルールを確認して、[Next]ボタンをクリック

データベースエンジン以外に、フルテキスト検索とレポーティングサービスをチェック
インストールパス、共有機能のパスは、Eドライブに変更
[Next]ボタンをクリック

[Next]ボタンをクリック

サービスアカウントをセット

照合順序は、英語版の既定値であることを確認、[Next]ボタンをクリック

認証方式は既定値のまま
SQL Server管理者にユーザーとグループを追加

データディレクトリがEドライブになっていることを確認

TempDBは既定値のまま

ファイルストリームも既定値のまま
[Next]ボタンをクリック

レポーティングサービスは、インストールと構成を選択(既定値のまま)
[Next]ボタンをクリック

インストールサマリーを確認
[Install]ボタンをクリック

15分ほどで完了。

SSMSは、16.xを入れたかったのですがダウンロードできないようなので、最新の17.4をインストール

SSMSのインストール後は再起動が必要

その2に続く
SQL Server は、2016 SP1までのサポートなので、本稿ではそれをセットアップします。
※フィードバック用に英語版でセットアップしています、またAzure IaaS VMにつき、バイナリーは極力Eドライブにインストールします。ご了承ください。
左側の[Installation]をクリック

[New SQL Server stand-alone installation]をクリック

[Next]ボタンをクリック

ライセンス条項をチェックし、[Next]ボタンをクリック

アップデートはないと思いますが、とりあえずチェックして、[Next]ボタンをクリック

インストールルールを確認して、[Next]ボタンをクリック
データベースエンジン以外に、フルテキスト検索とレポーティングサービスをチェック
インストールパス、共有機能のパスは、Eドライブに変更
[Next]ボタンをクリック

[Next]ボタンをクリック

サービスアカウントをセット

照合順序は、英語版の既定値であることを確認、[Next]ボタンをクリック

認証方式は既定値のまま
SQL Server管理者にユーザーとグループを追加

データディレクトリがEドライブになっていることを確認

TempDBは既定値のまま

ファイルストリームも既定値のまま
[Next]ボタンをクリック

レポーティングサービスは、インストールと構成を選択(既定値のまま)
[Next]ボタンをクリック

インストールサマリーを確認
[Install]ボタンをクリック

15分ほどで完了。

SSMSは、16.xを入れたかったのですがダウンロードできないようなので、最新の17.4をインストール

SSMSのインストール後は再起動が必要

その2に続く
0 件のコメント:
コメントを投稿