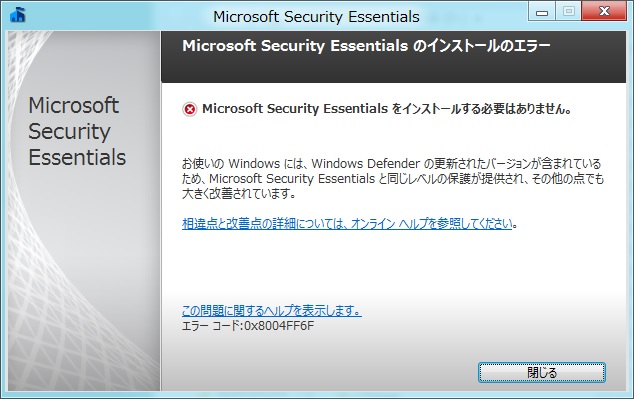
ということで、せっかくですから、System Center Endpoint Protection 2012を入れてみることに。
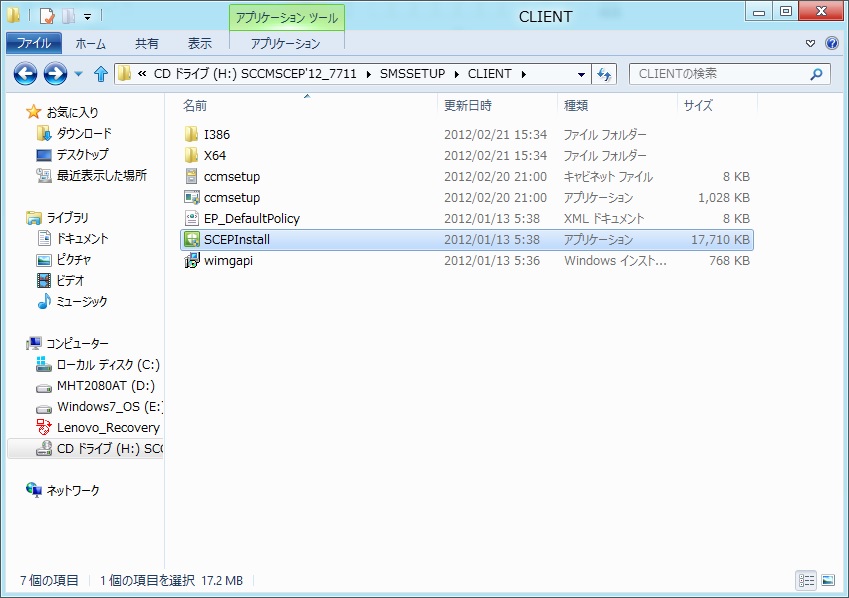
SCCM&SCEPのISOイメージをマウントします。Windows 8だと標準機能でマウントできるので良いですね。
マウントしたドライブの\SMSSETUP\CLIENTにある"scepinstall"がありますので、これを起動します。
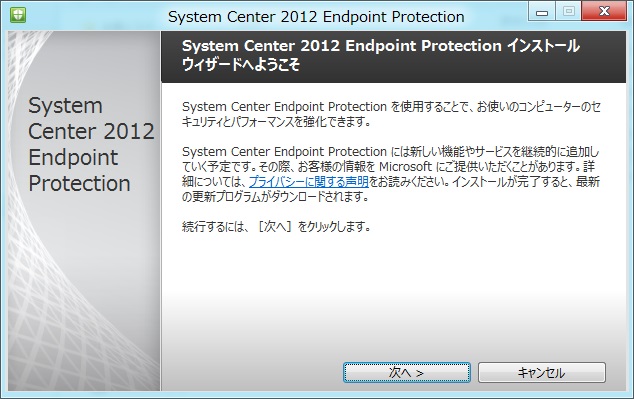
インストールウィザードが起動するので、[次へ]ボタンを押します。
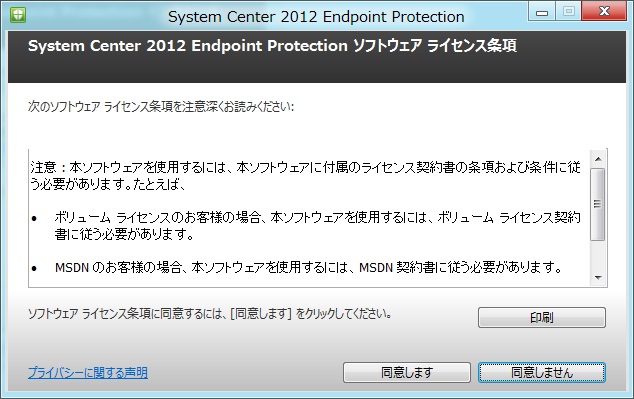
[同意します]ボタンを押します。
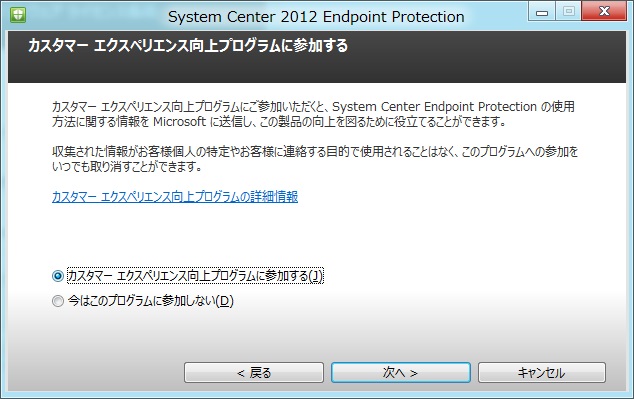
ここでは、[カスタマーエクスペリエンス向上プログラムに参加する]を選択して、[次へ]ボタンを押します。
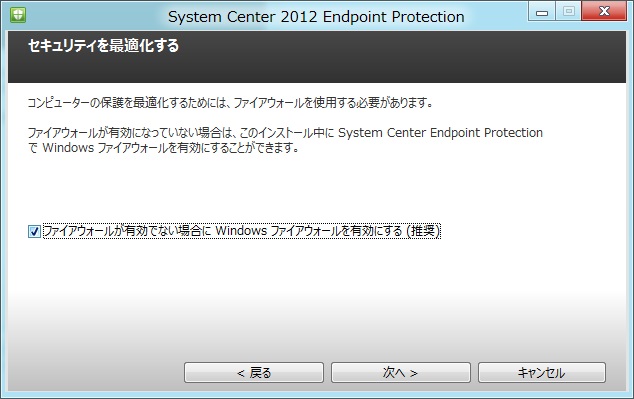
[ファイアウォールが有効でない場合にWindowsファイアウォールを有効にする]をチェックし、[次へ]ボタンを押します。
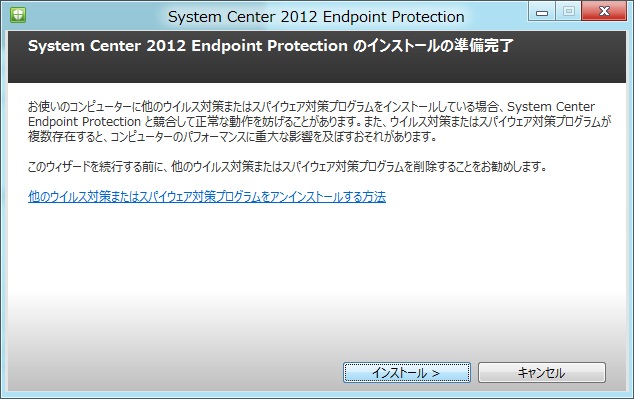
[インストール]ボタンを押します。
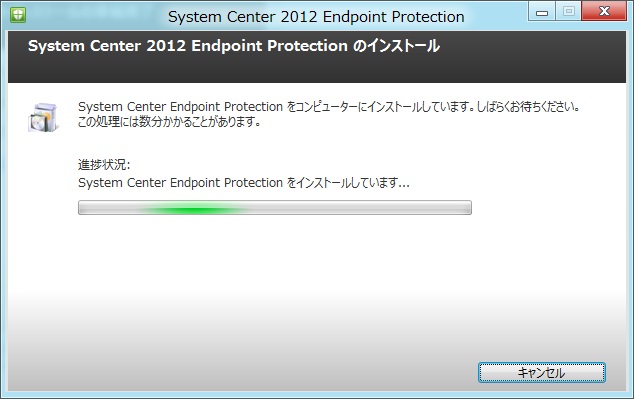
インストールが開始されます。
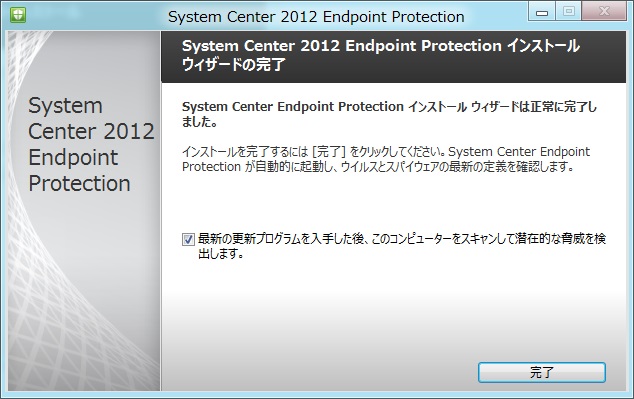
インストールが完了したので、[完了]ボタンを押します。
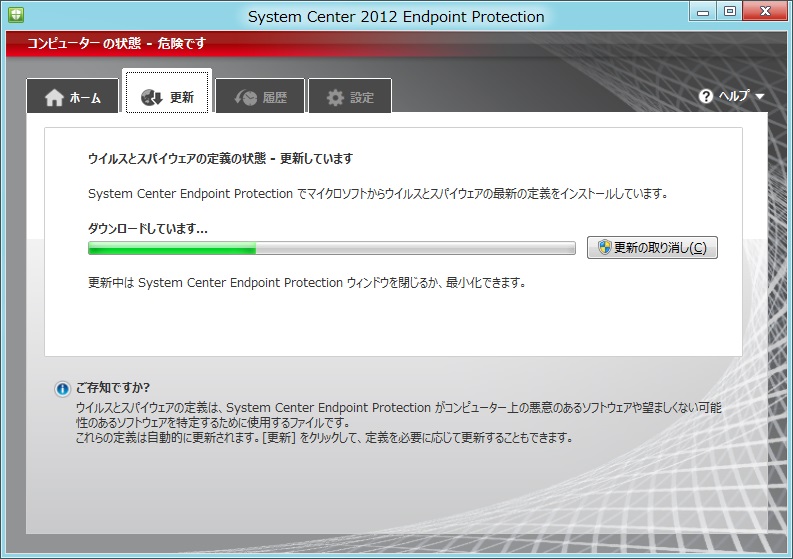
定義ファイルを更新しています。
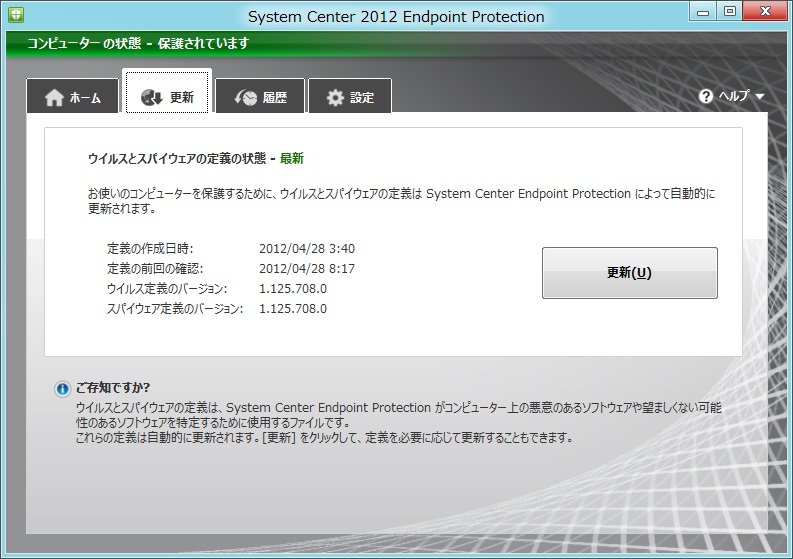
定義ファイルの更新完了。
Windows Server 2012 BetaでもSystem Center Endpoint Protection 2012が使えると思うので、そろそろWindows Server 2012 Betaも試さないとなぁ。
0 件のコメント:
コメントを投稿