本記事の前提は以下の通りです。
・元ネタと同じでは全く意味がないので、VMMとOMを連携するPROをフックする形を想定します。
・Orchestrator、VMMとOMのインストールには触れません。RunbookサーバーにOMコンソールをインストールする手順は、元ネタをご参照ください。
とは言え前提条件には若干ふれます。
・OMとの連携は、元ネタの"A-3. SCOM 管理サーバーの設定"に準じて設定します。
・Integration Packのインポートと展開は、日本語版の画像を用いて記載しようと思います。
また、記事自体は数回に分けて行こうと思います。
最初に前提条件について触れていきます。
システム要件は、Single-Computer Requirements for Orchestrator in System Center 2012 SP1に記載の通りです。システム要件を満たしていない場合は、セットアップ時の前提条件チェックに引っかかります(以下は、メモリの条件を満足していない場合の例です)。

機能を分けてインストールする場合のシステム要件は、Individual Feature Requirementsで確認できます。
続いて統合パック(IP)の登録を行います。
スタート画面などから、[System Center 2012 Orchestrator Deployment Manager]を起動します。
[統合パック]フォルダを右ボタンクリックし、[統合パックのOrchestrator Deployment Managerへの登録]を選択します。

[統合パックの登録ウィザード]が表示されたら、[次へ]ボタンを押します。

登録するファイルを選択します。

ファイルを指定したら、[次へ]ボタンを押します。

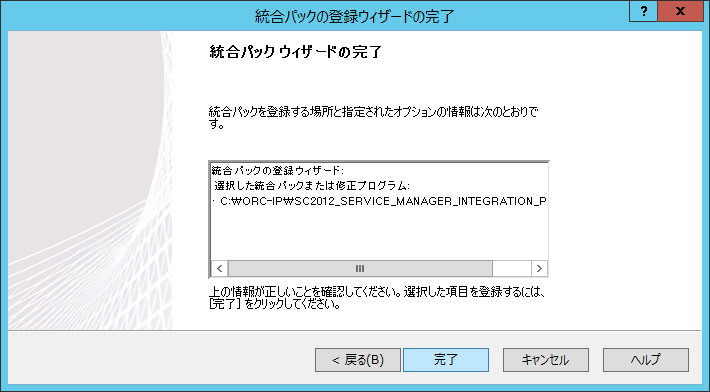
[完了]を押します。
[使用許諾契約書]で[同意する]ボタンを押します。

登録されると[統合パック]フォルダ配下に表示されます。
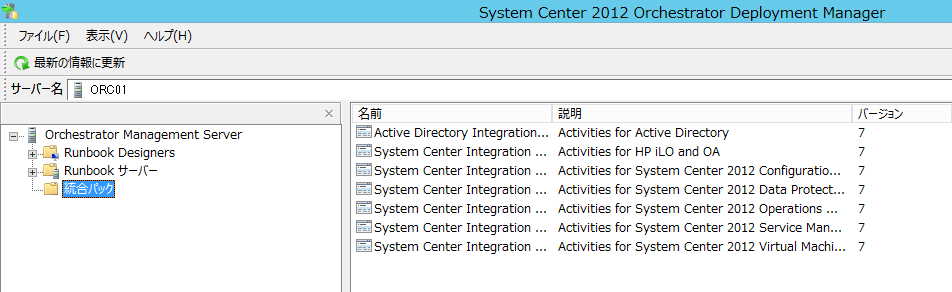
続いて統合パックを展開します。
[統合パック]の右ボタンクリックか、下図のように[統合パック]の中で右ボタンクリックし、[統合パックのRunbookサーバーまたはRunbook Designerへの展開]を選択します。

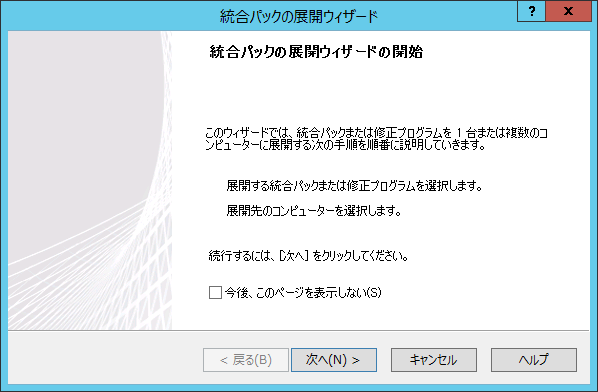
[統合パックの展開ウィザード]が表示されたら、[次へ]ボタンを押します。
展開したい統合パックをチェックし、[次へ]ボタンを押します。

展開先のコンピューターを指定し、[次へ]ボタンを押します。

ただちに展開したいので、[次へ]ボタンを押します。

正常に展開されると以下のようなメッセージが表示されます。

この環境の場合、なかなかうまく登録されないことがあり、IP削除、IP再登録の上で展開でうまくいくことがありました。
次回に続く
0 件のコメント:
コメントを投稿