Azure Operational Insights Previewでは、SCOMと接続するパターンと、エージェントを監視対象に直接インストールする(つまりSCOMを使わない)二パターンが使えるようになっています。

本記事では、オンプレミスのSCOMとAzure Operational Insights Previewの接続をご紹介します。
といっても、手順はこちらに書かれています。

SC 2012 R2 OMを起動します。
[管理]をクリックして、[System Center Advisor]→[Advisor Connection]をクリックします。

[Register Advisor Service]をクリックします。
そうするとIEの警告画面が出ますので、[Add]ボタンを押して、IEのセキュリティ設定→信頼済みサイトへこのURLを登録します。

ダイアログ上でサインインのページが表示されます。今回はMicrosoftアカウントを選択します。

再度IEの警告画面が出ますので、[Add]ボタンを押して、IEのセキュリティ設定→信頼済みサイトへこのURLを登録します。

再再度IEの警告画面が出ますので、[Add]ボタンを押して、IEのセキュリティ設定→信頼済みサイトへこのURLを登録します。

JavaScriptを要求されました。これは、サーバー側で、IEのセキュリティ強化が有効になっているからなので、

下記の通り設定を切ります。

ようやくMicrosoftアカウントのサインイン画面が出ました。

ここで、Azureで使っているMicrosoftアカウントでサインインします。
作成済みのWordspaceを指定します。

サマリー画面が出るので、内容を確認し、[Create]ボタンを押します。

設定中の画面。

設定完了です。

そうするとActionsに[Add a Computer/Group]が表示されるので、これをクリックします。

ラボ環境で主に使っているサーバー群を登録します。

ちなみに、[Options]で別の項目を選択すると、以下の管理対象を含められることがわかります。

[OK]ボタンを押すと、[Acvisor Managed]に管理対象が追加されます。
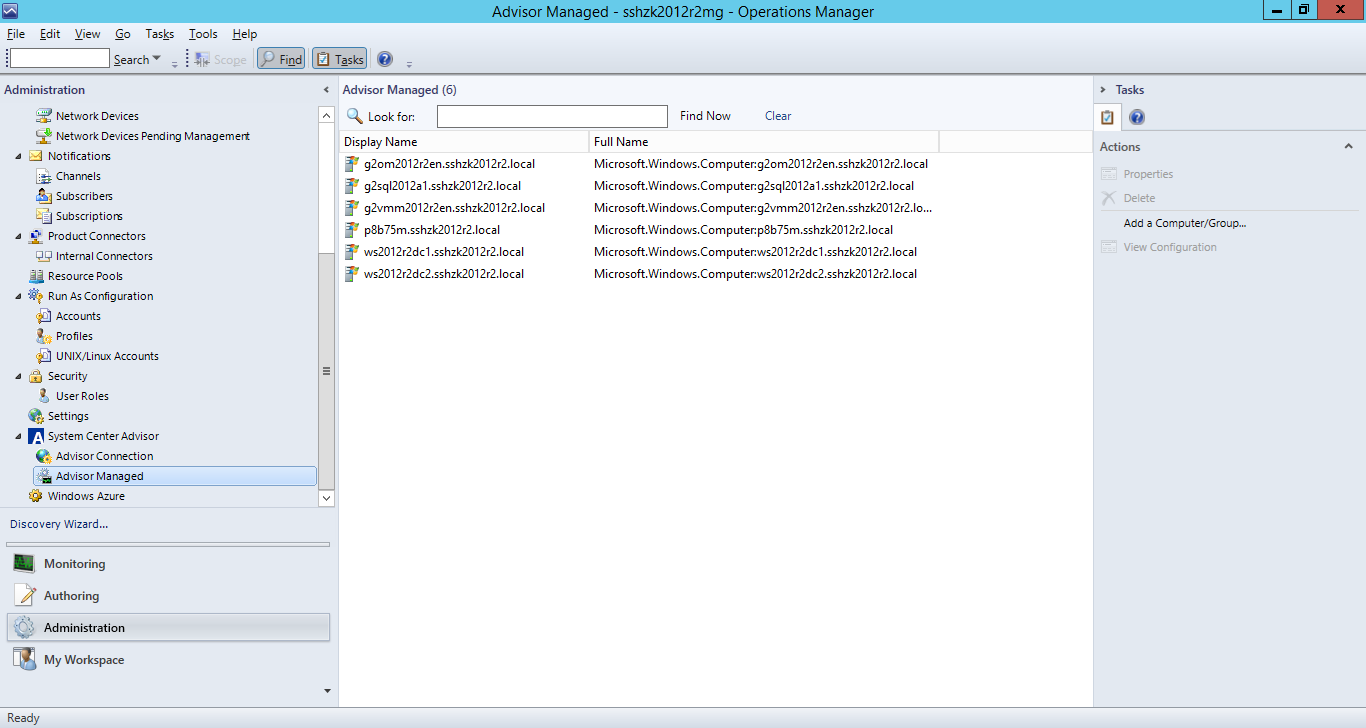
以上で、Azure Operational Insights PreviewにSCOMを紐つけは完了です。
次回は、Azure Operational Insights PreviewにIntelligence Packsを追加するところをご紹介します。
0 件のコメント:
コメントを投稿