まずは、管理パック(MP)を導入します。
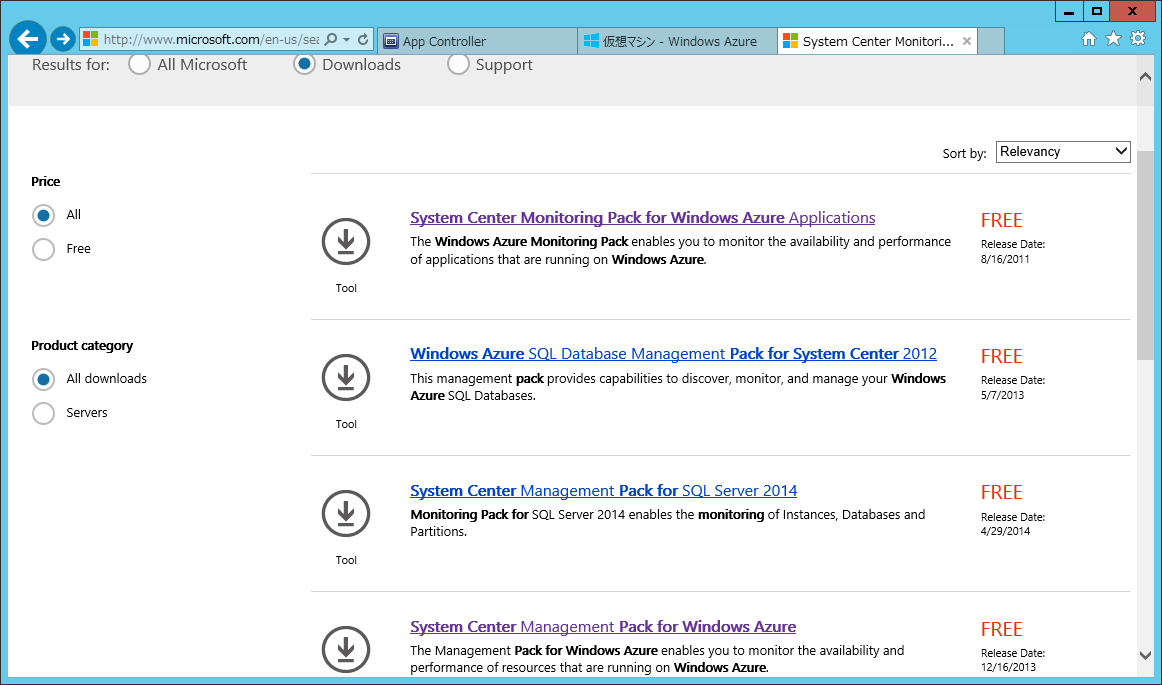
Microsoft Download Centerで検索して探します。
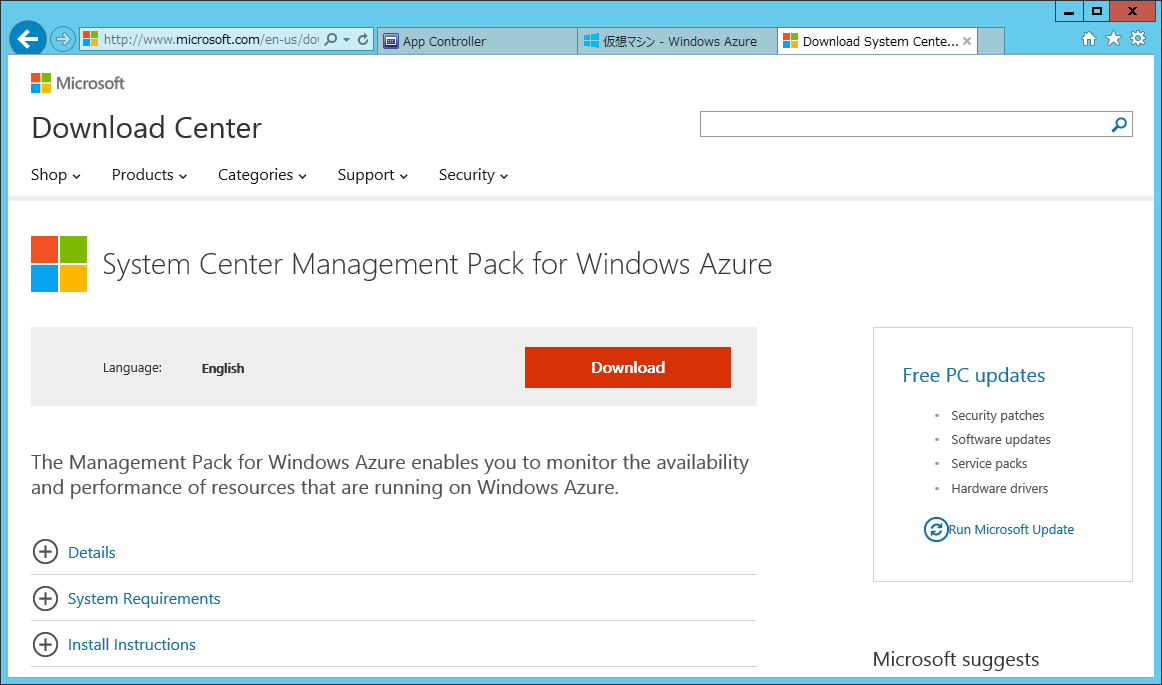
"System Center Management Pack for Windows Azure"をクリックし、[Download]をクリックします。
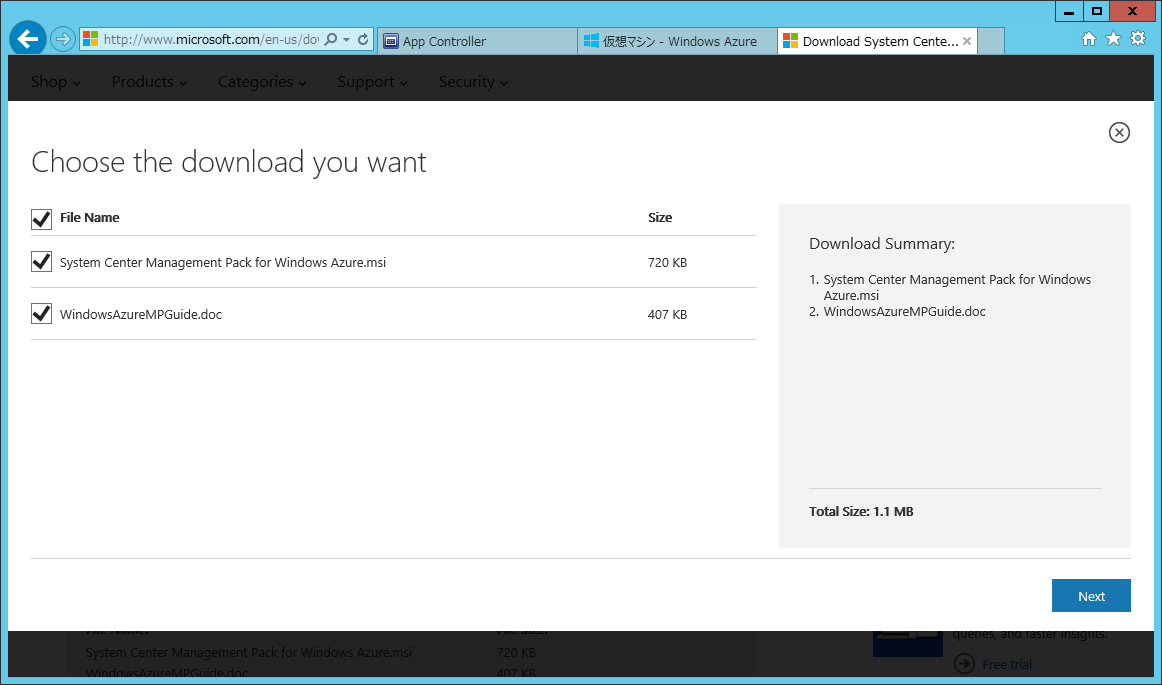
インストール用のMSIファイルとWordドキュメントをチェック(選択)し、[Next]ボタンを押します。
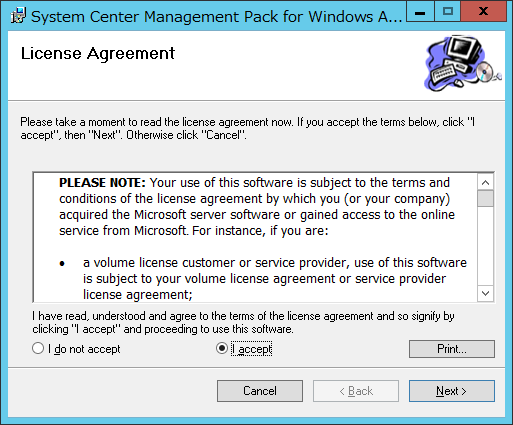
MSIファイルを実行し、[Next]ボタンを押します。
[Next]ボタンを押します。
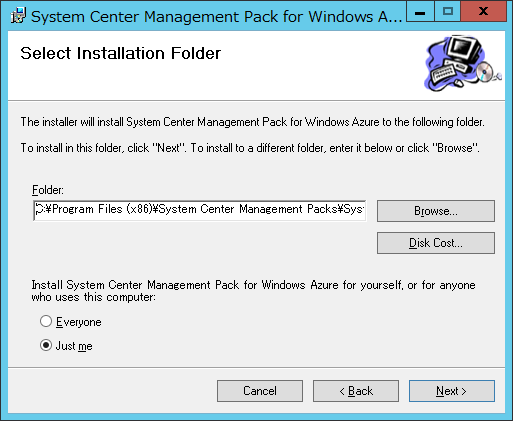
因みに、ファイルのインストール先(ファイルの展開先)は"C:\Program Files (x86)\System Center Management Packs\System Center Management Pack for Windows Azure\"です。
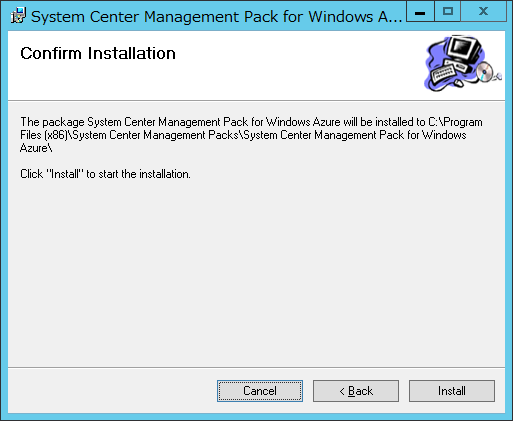
[Install]ボタンを押します。
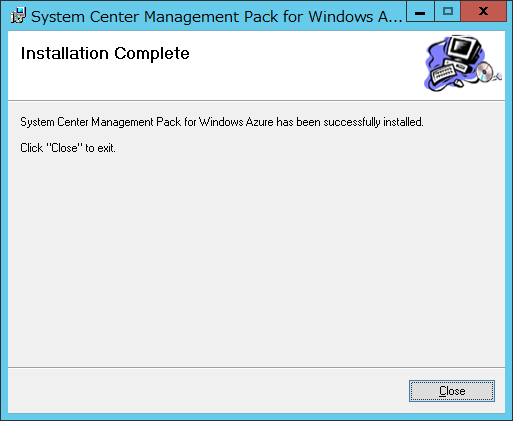
インストールが完了したので、[Close]ボタンを押します。
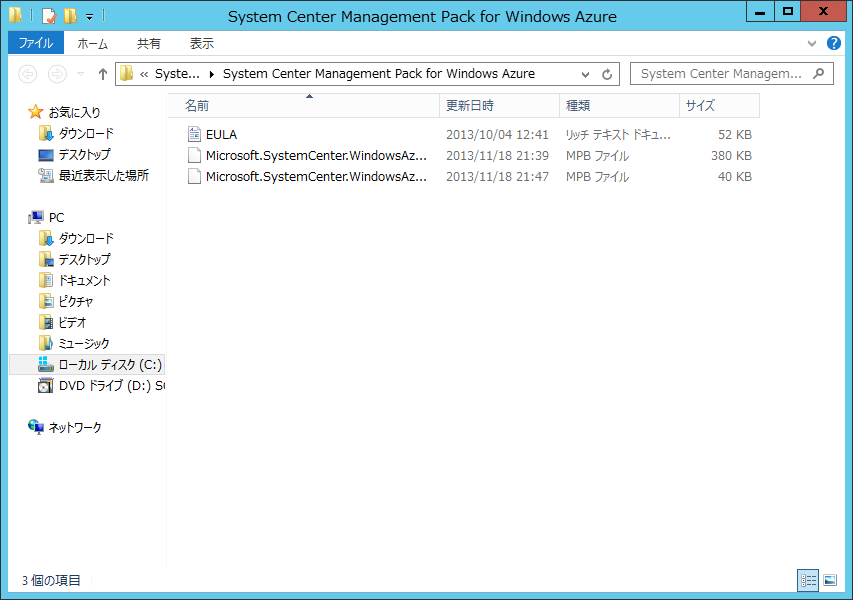
"C:\Program Files (x86)\System Center Management Packs\System Center Management Pack for Windows Azure\"にファイルが展開されたことを確認します。
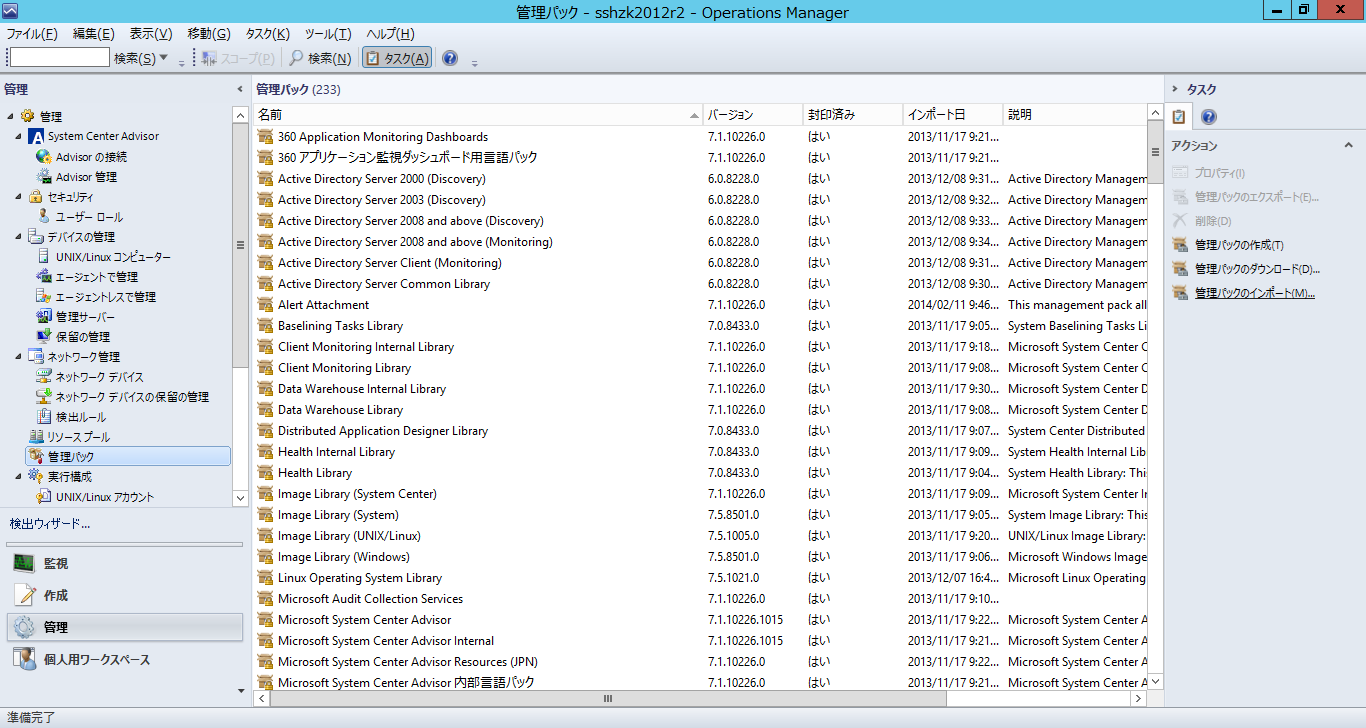
続いて管理パックをインストールします。
System Center 2012 R2 Opetaions MangerのOperation Consoleを起動します。
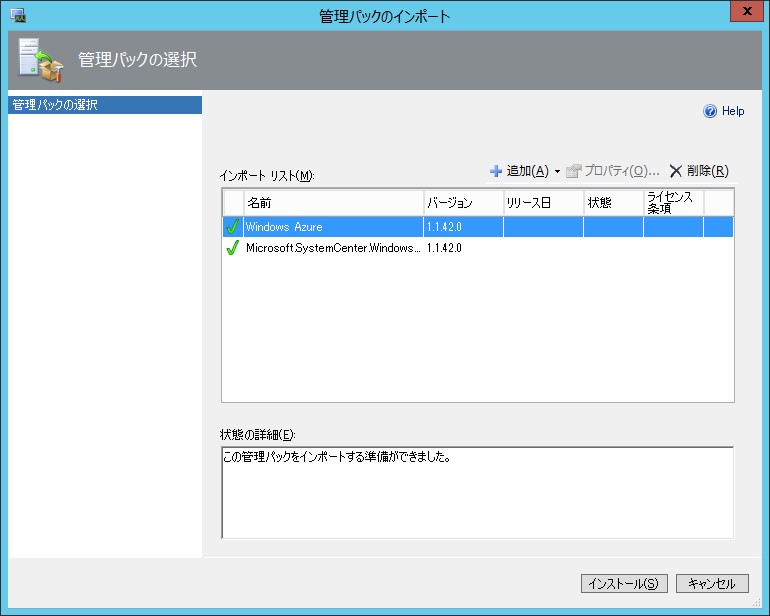
[管理]→[管理パック]→[管理パックのインポート]の順でクリックします。
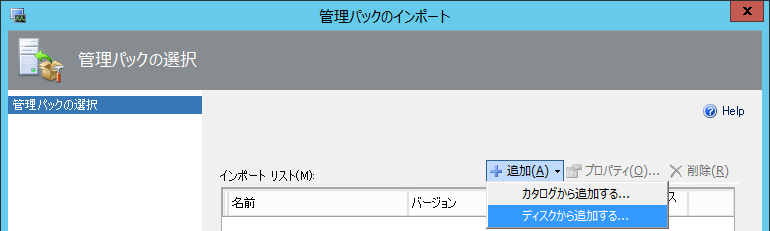
ダイアログで[追加]ボタンをクリックし、[ディスクから追加する]を選択します。
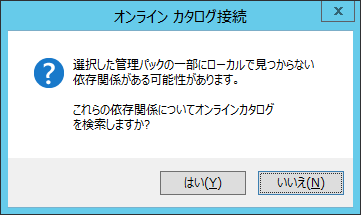
オンラインカタログへ接続するため、[はい]ボタンを押します。
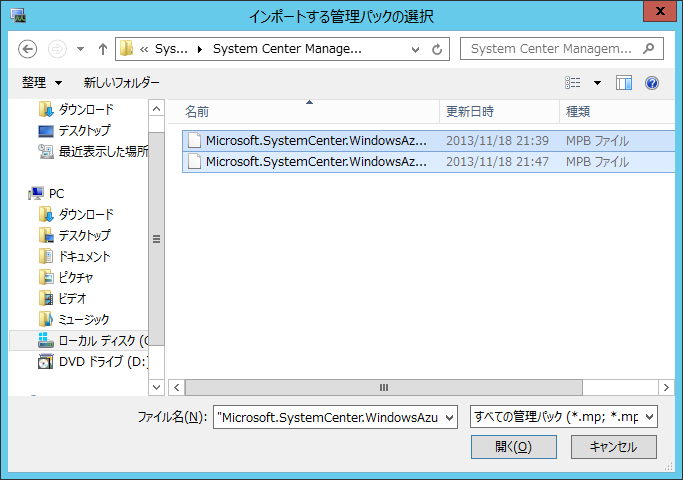
"C:\Program Files (x86)\System Center Management Packs\System Center Management Pack for Windows Azure\"フォルダを開いて、管理パックを選択後、[開く]ボタンを押します。
[インストール]ボタンを押します。
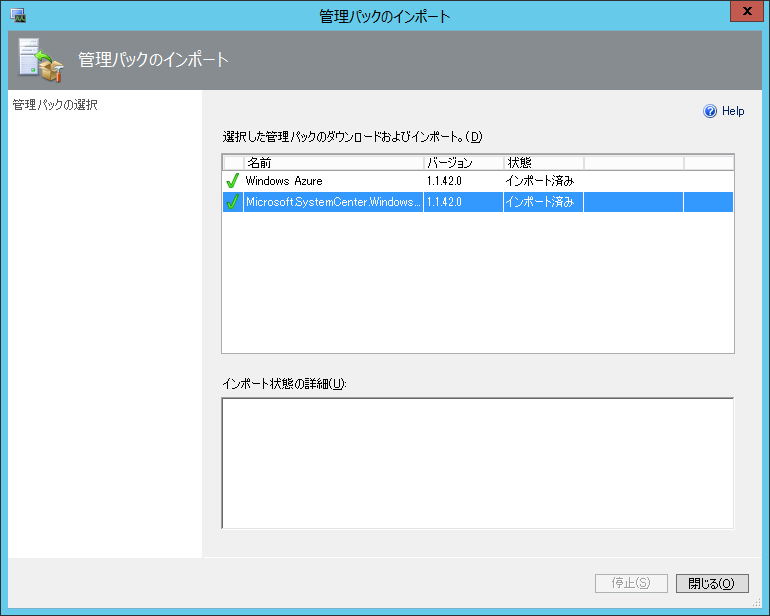
インポートが完了したら、[閉じる]ボタンを押します。
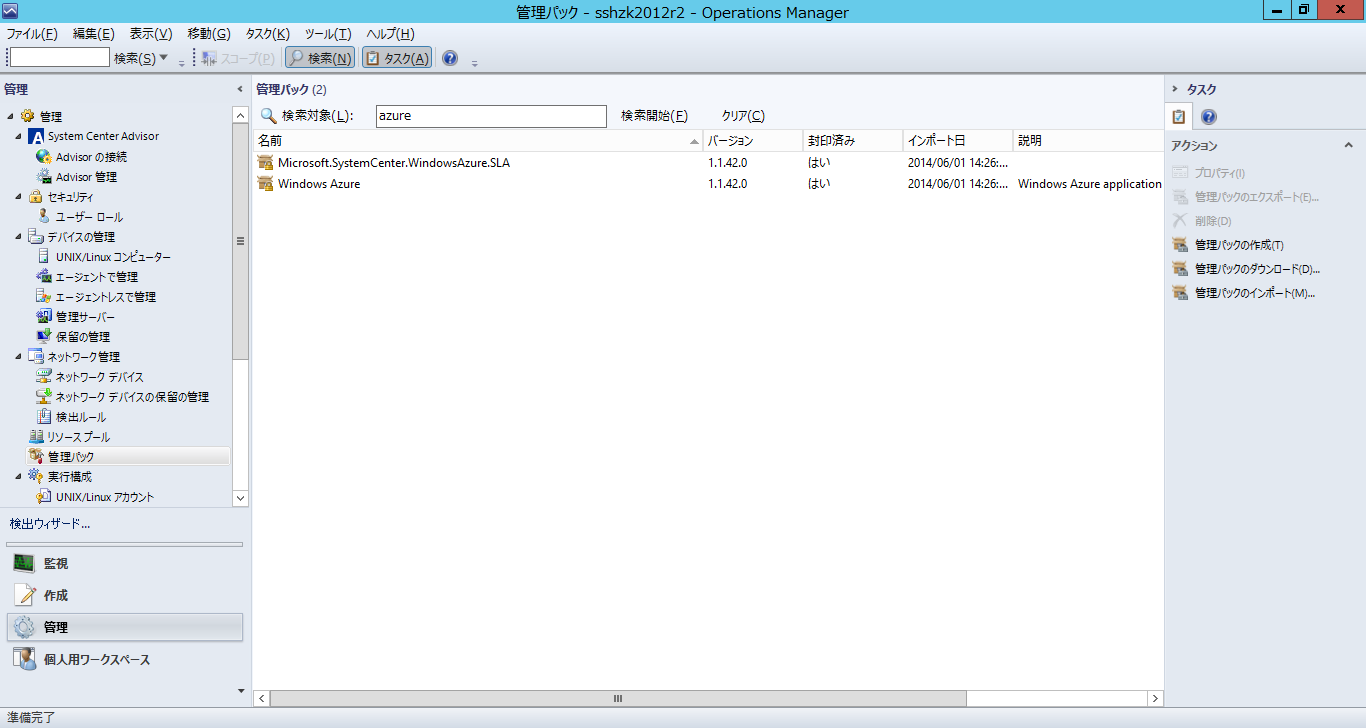
検索対象の入力ボックスで"azure"と入力し、インポートされていることを確認します。
監視するAzureのサブスクリプションを登録するために、[管理]→[Windows Azure]→[Add Subscription]をクリックします。
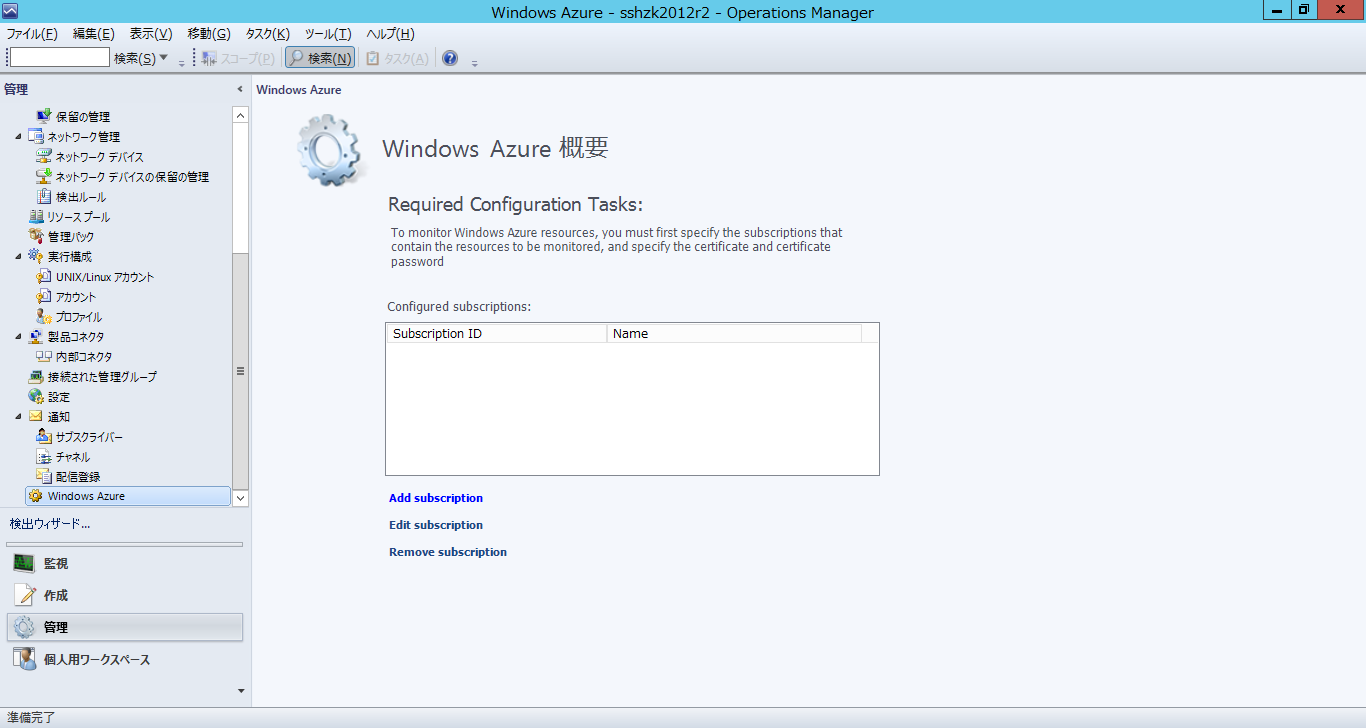
一番上のフィールドにサブスクリプションのGUIDを入力しします。二番目と三番目のフィールドへ、以前に作成しておいたサービス証明書とそのパスワードを入力します。
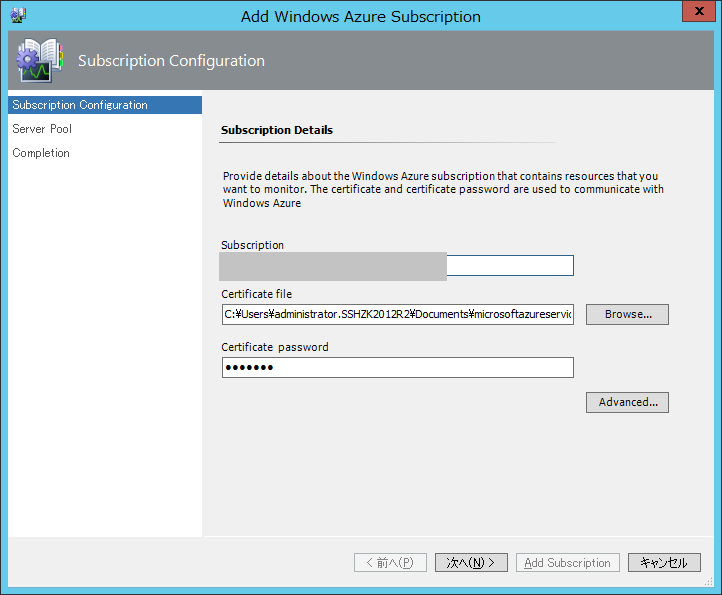
入力し終えたら[次へ]ボタンを押します。
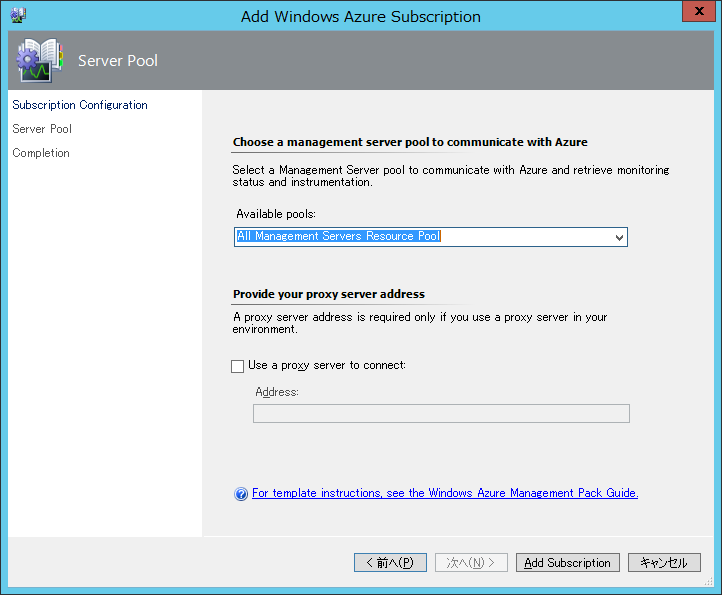
Management Server Poolを選択し、[Add Subscription]を押します。
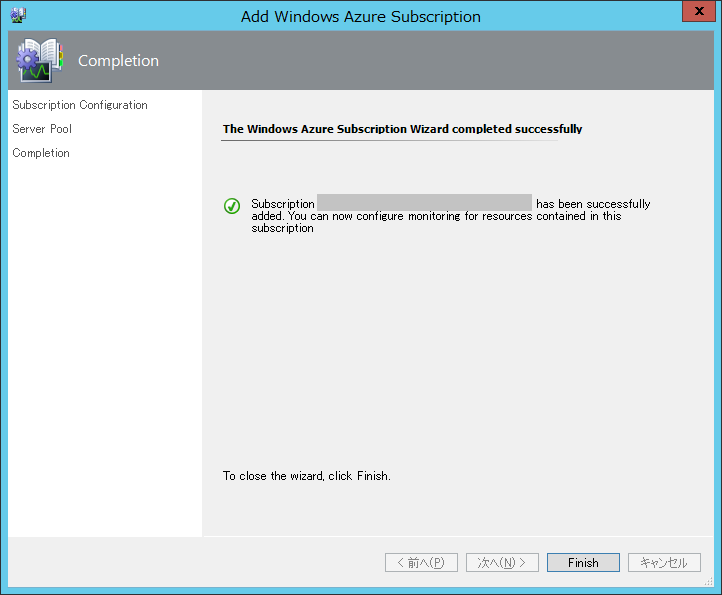
登録が完了したら、[Finish]ボタンを押します。
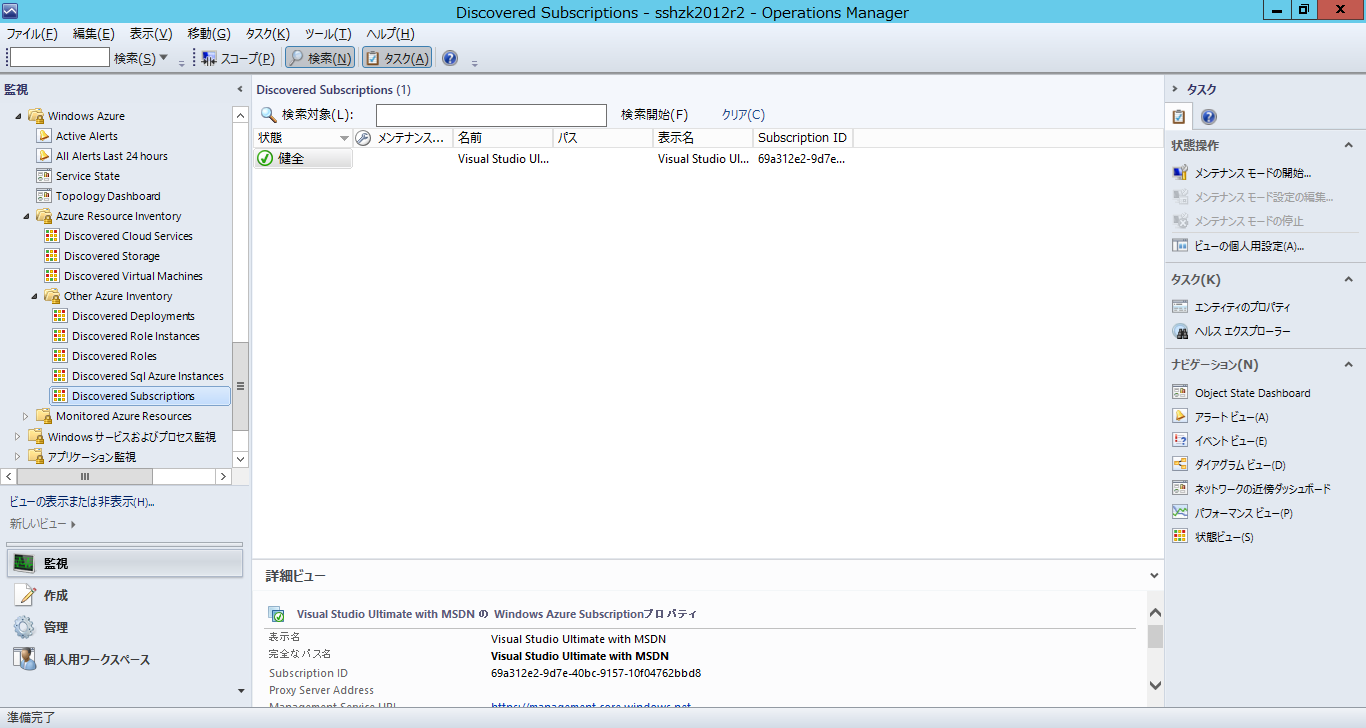
このような感じでサブスクリプションが登録(関連付け)されます。
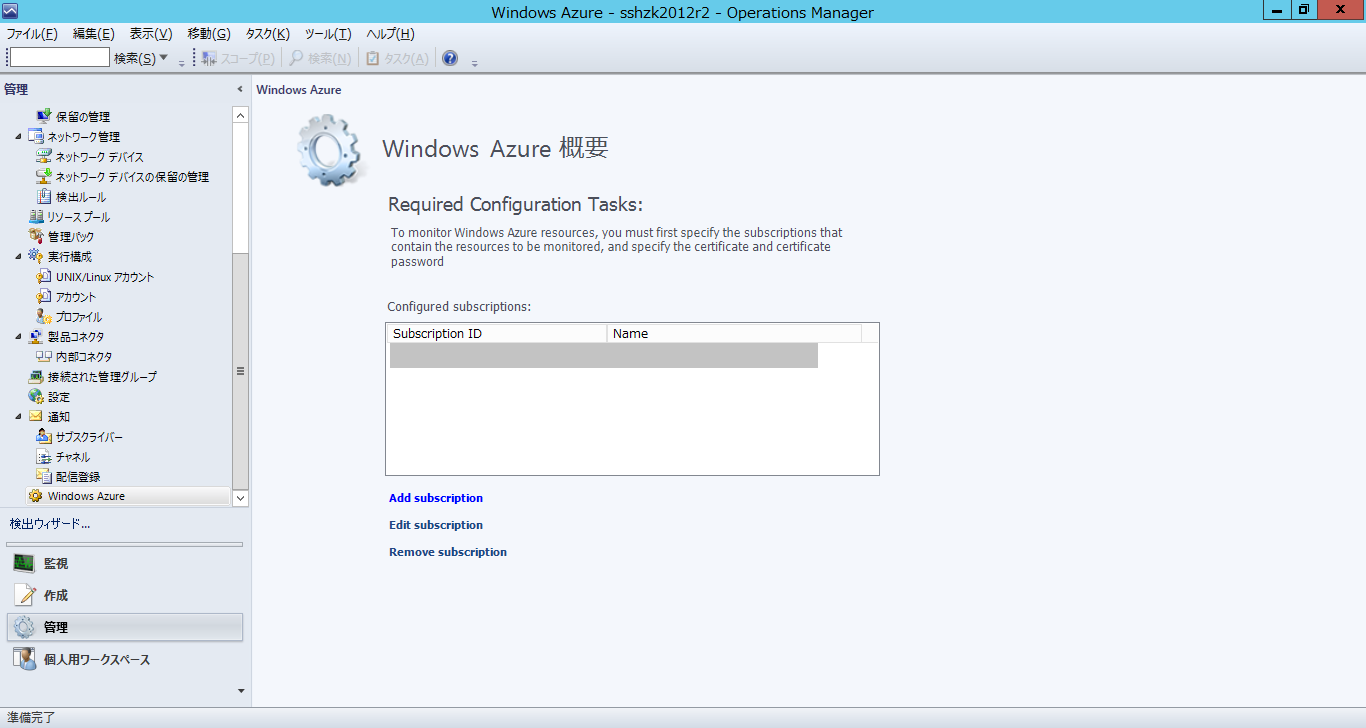
以上で、監視するための構成は完了です。
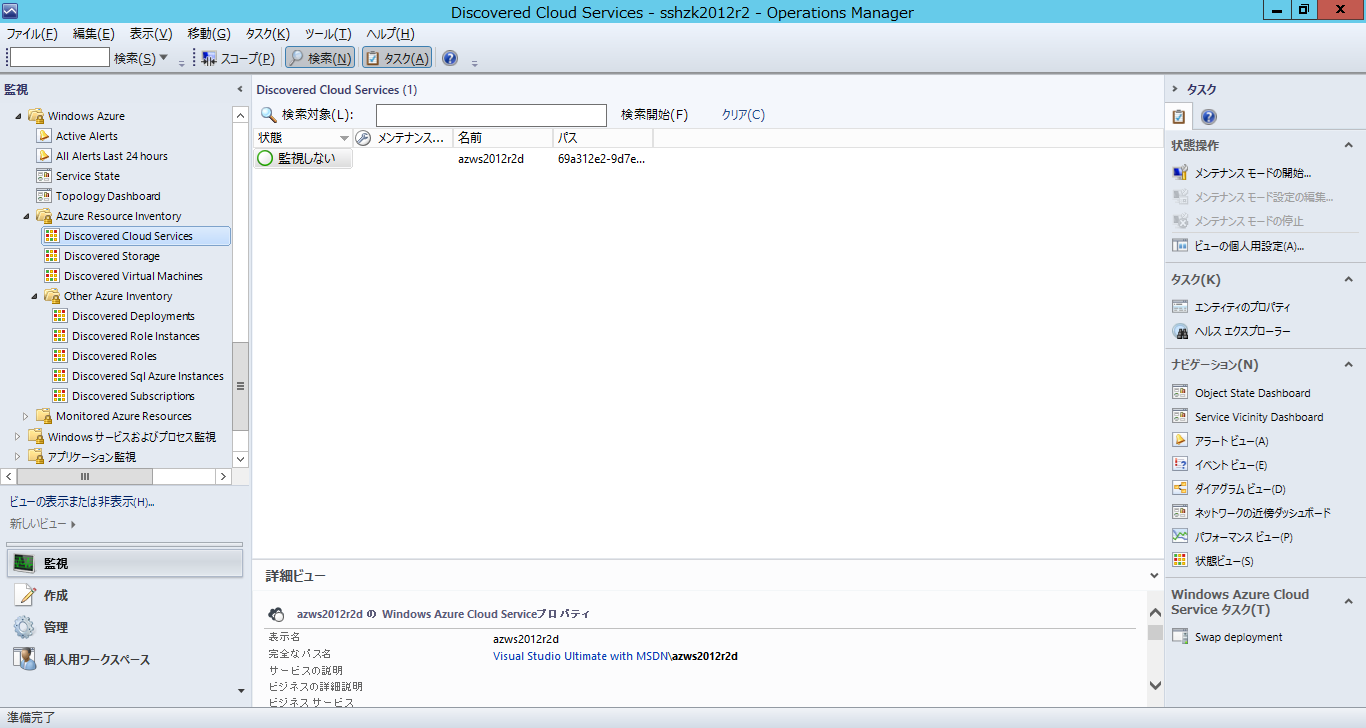
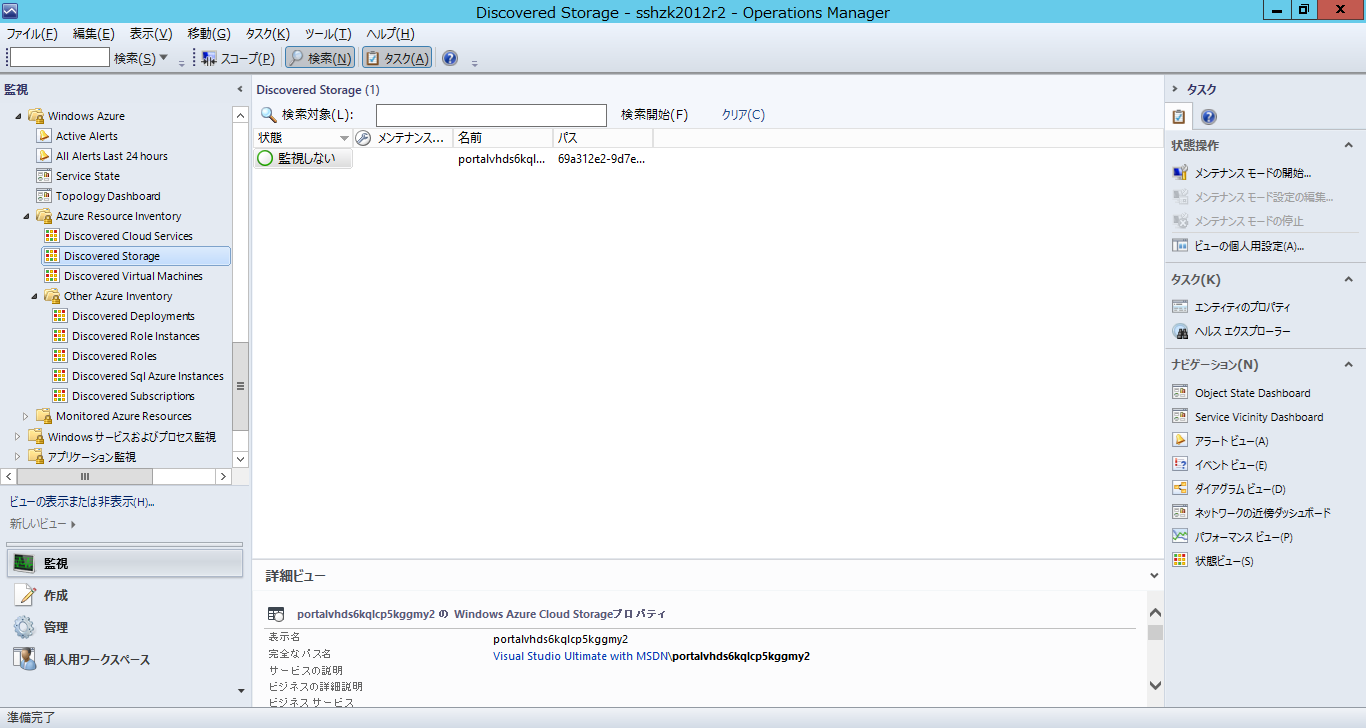
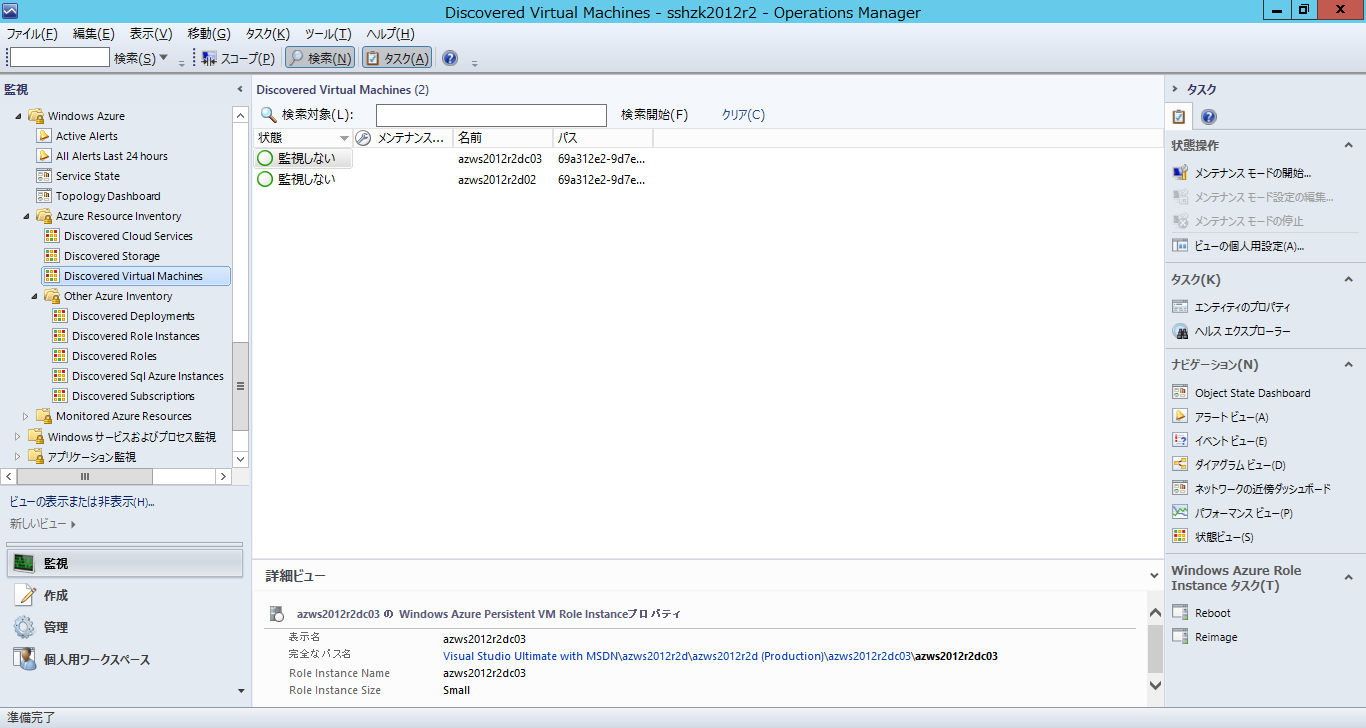
いつくか監視の画面ショットを取ってみましたが、まだ情報が集まっていないのか、"監視しない"になっているところがほとんどでした。
引き続き画面は確認していきますが、今日のところはここまでとします。
0 件のコメント:
コメントを投稿