前回で、WAP(Windows Azure Pack)とSPFは、別のマシン(VM)に構築すると追記させていただきました。
それについては、下記のブログ記事を参考に致しました。
Step-by-Step: Getting Started with On-demand Private Clouds using Windows Azure Pack
http://blogs.technet.com/b/keithmayer/archive/2014/04/10/step-by-step-getting-started-with-windows-azure-pack-for-vm-private-clouds.aspx#.U69HcGRMAaA.twitter結果として、SQL Server、VMM、SPF、WAPの4台構成ということで、上記ブログ記事を全く同じマシン構成になりましたね。。。
さて、前回はSPFまで構成しました。
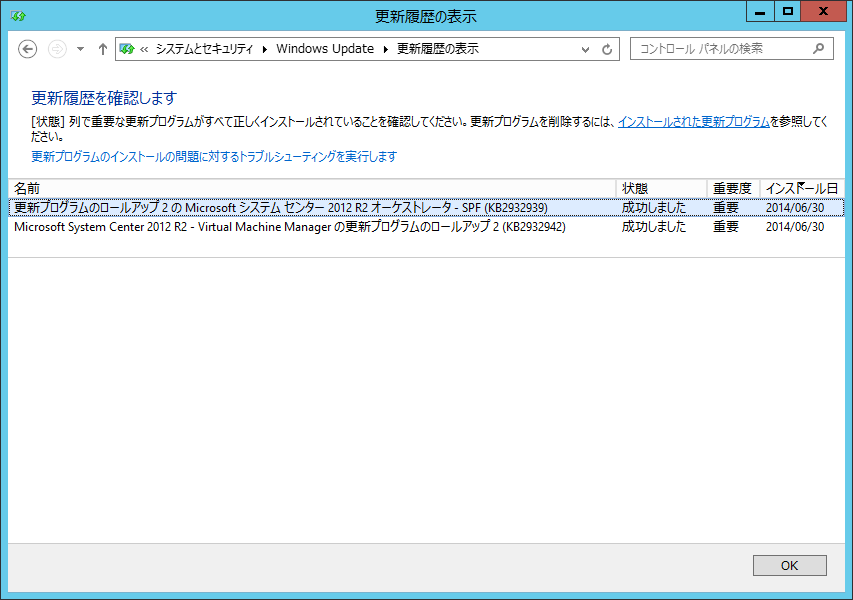
忘れずに現時点での最新Update Rollupを適用します。

本稿では、冒頭に持ってきたブログ記事に倣って、この後の設定を進めていきます。
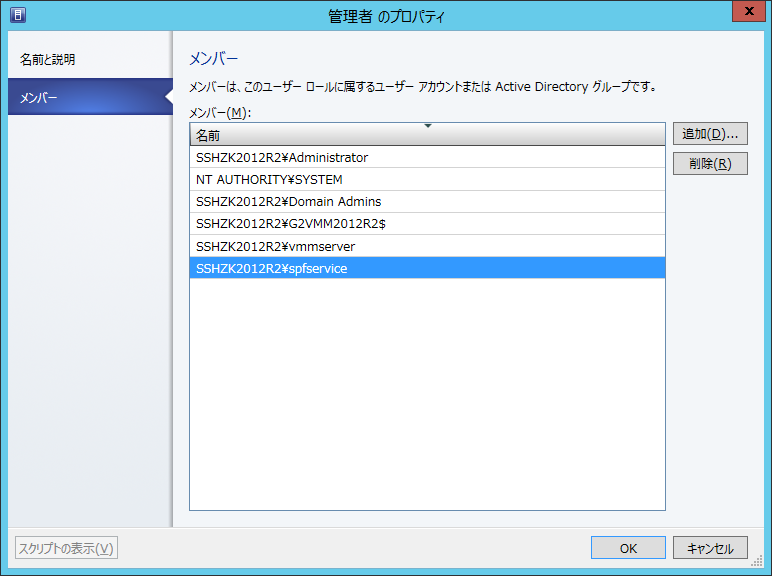
まず「SPFのサービスアカウントをVMMの管理グループに追加せよ」とありましたので、そこをフォローします。

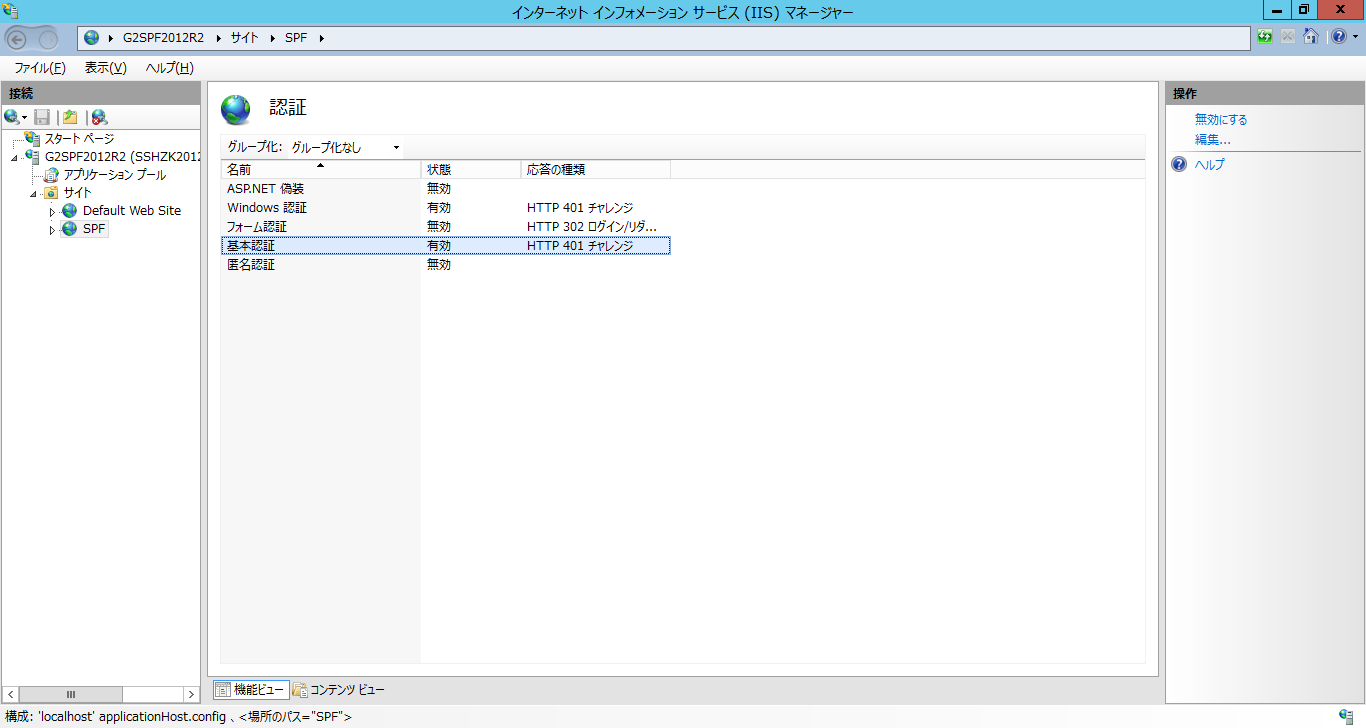
SPFサイトがBasic認証になっているかも確認しておきます。

SPFマシンにWAPからSPFに接続する際のローカルアカウントを作成します。

ローカルアカウントを作成したら、ローカルグループSPF_*のメンバーにしておきます。

ローカルアカウントの設定完了。

SPFのエンドポイントに接続してみます。
先ほど、作ったローカルアカウントでBasic認証を通します。

KeithMayerのブログに書かれているような画面になったので、ここまでは問題ないようです。

Windows Azure Packのインストールするために、WAP用のマシンに切り替え(サイン)します。
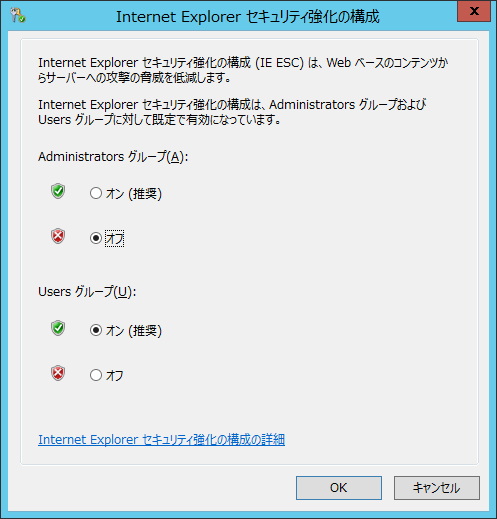
Windows Azure Packのインストール前に、IEのセキュリティ強化設定を切ります。

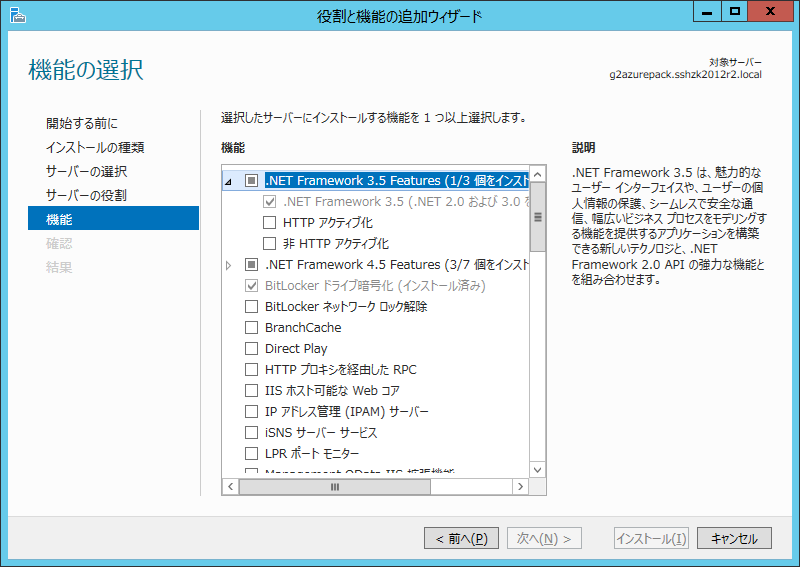
.NET Framework 3.5も機能として追加しておきます。

システム要件は、Installing Windows Azure Pack software prerequisites
http://technet.microsoft.com/en-us/library/dn469335.aspx に書かれていますので、確認することをお勧めします。
いよいよ、Windows Azure Packをインストールします。
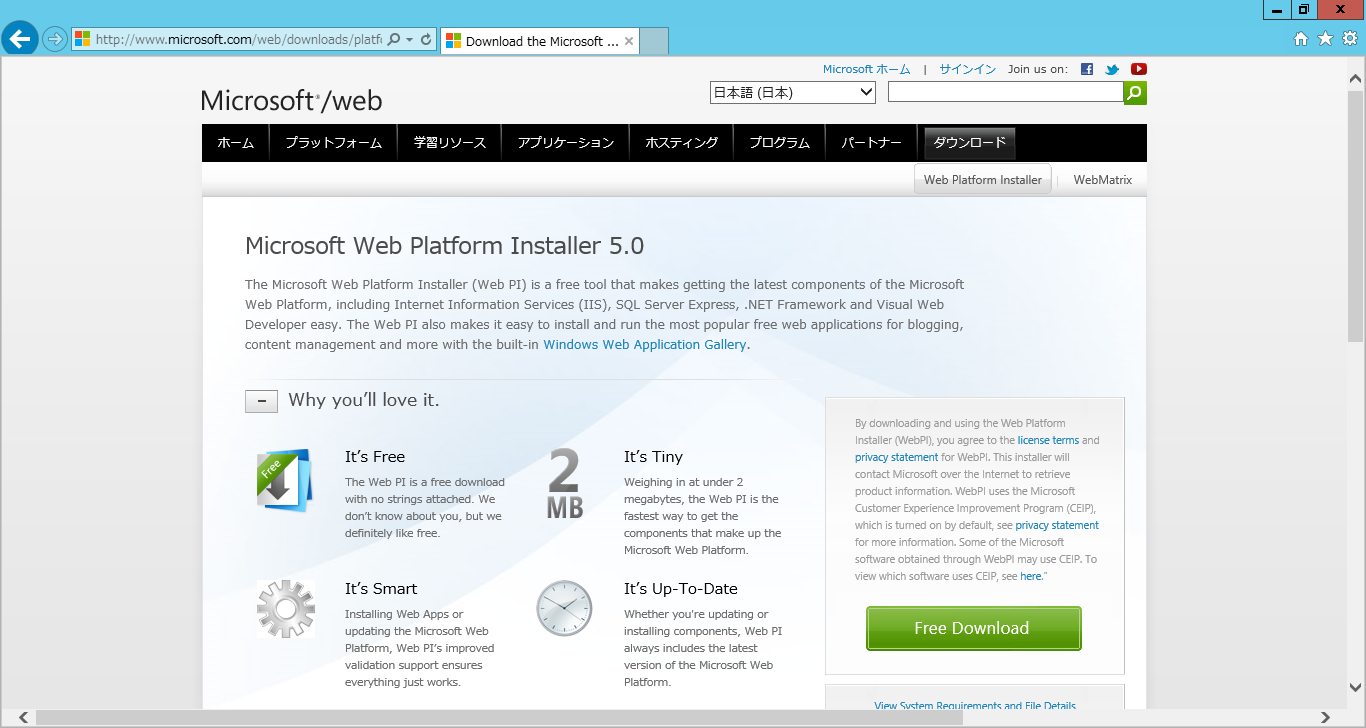
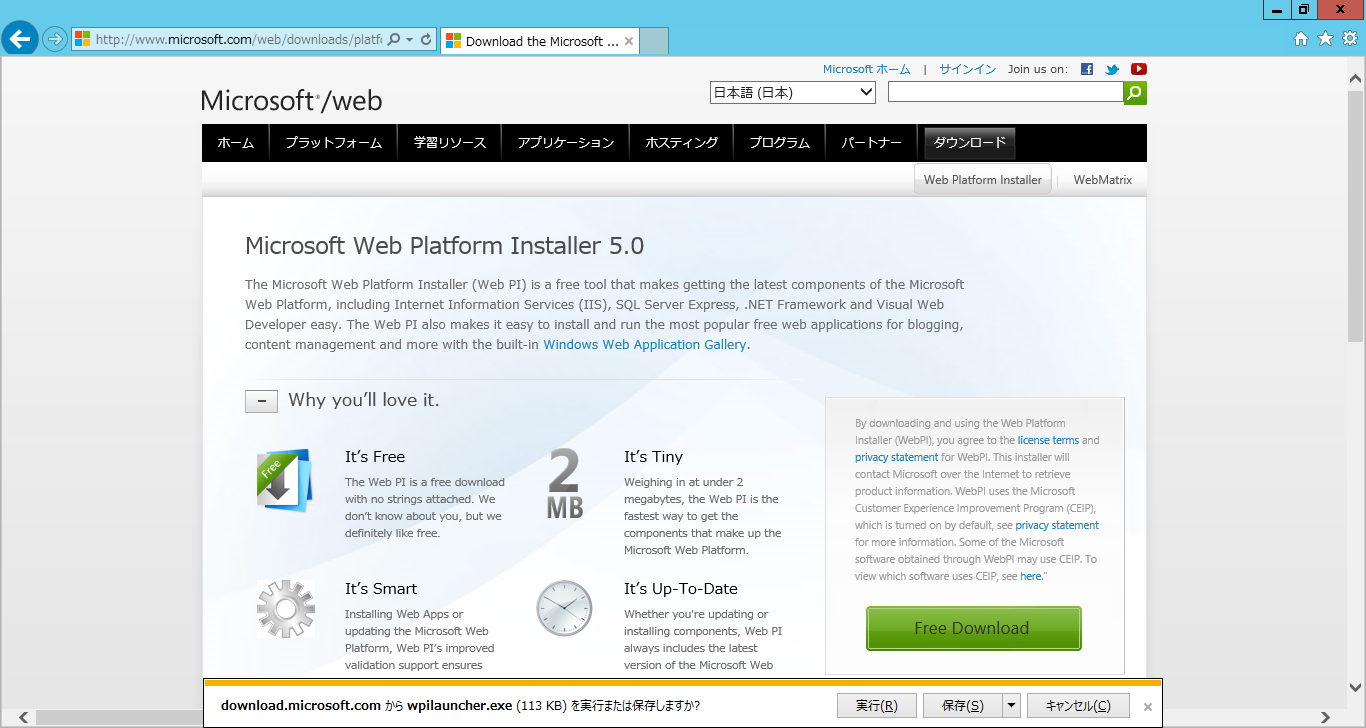
Microsoft Web Plathome Installerのページにアクセスして、Microsoft Web Plathome Installerをダウンロード、

実行します。

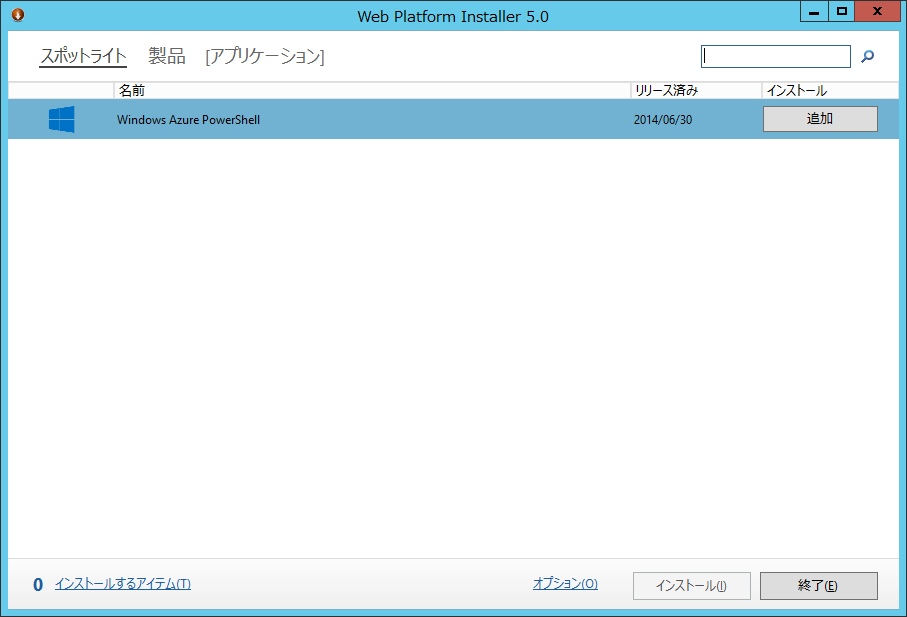
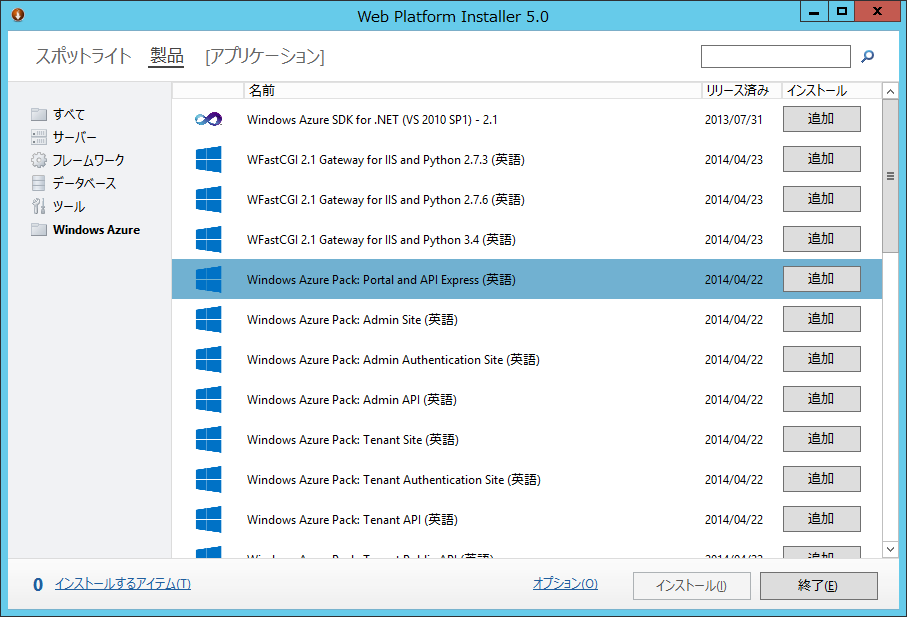
Microsoft Web Plathome Installerが起動したら、

[製品]→[Windows Azure]をクリックし、[Windows Azure Pack: Portal and API Express]を探します。

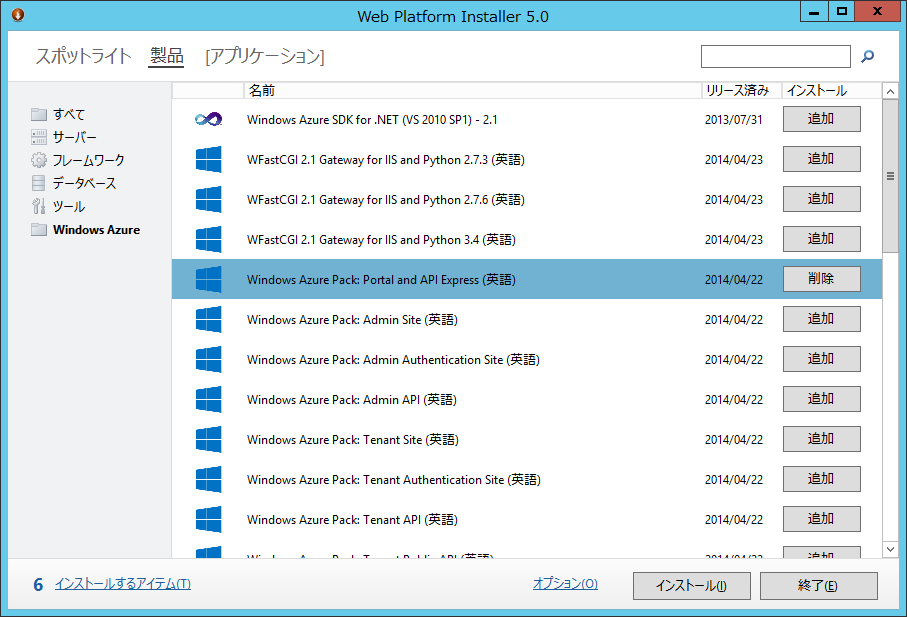
[Windows Azure Pack: Portal and API Express]を見つけたら、[追加]ボタンを押し、[インストール]ボタンを押します。

※プロダクション環境ではないため、コンポーネントすべてを1台にインストールする設定です。
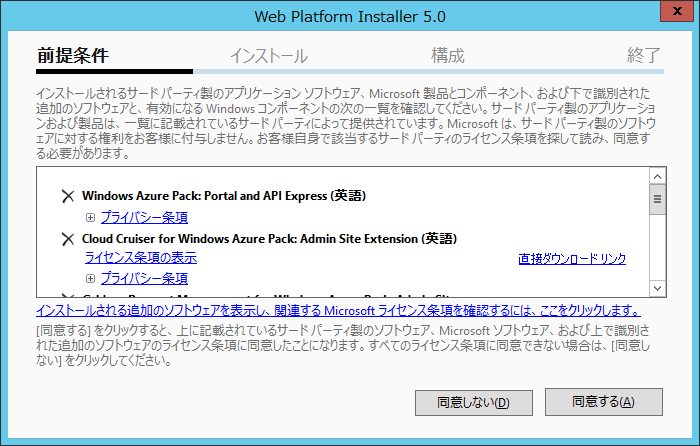
インストールの前提条件に対して、[同意]ボタンを押します。

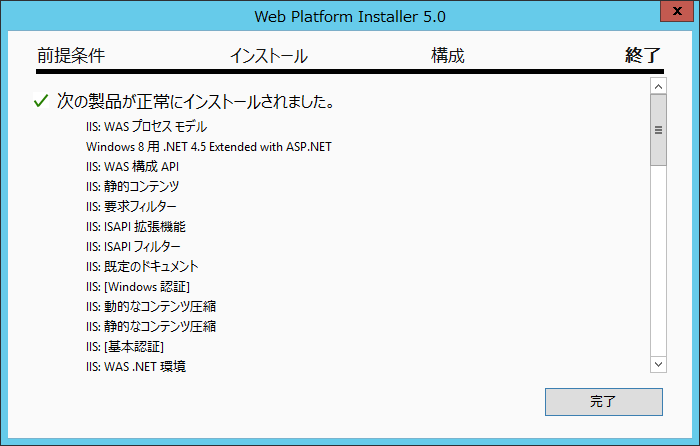
Microsoft Web Plathome InstallerでIISのコンポーネントをインストールしてくれます。

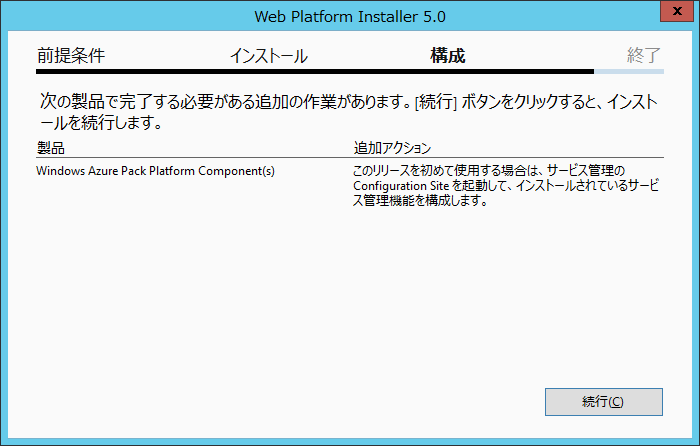
インストールに問題がなければ下記画面になりますので、[続行]ボタンを押します。

[完了]ボタンを押して、Windows Azure Packのインストールを終了します。

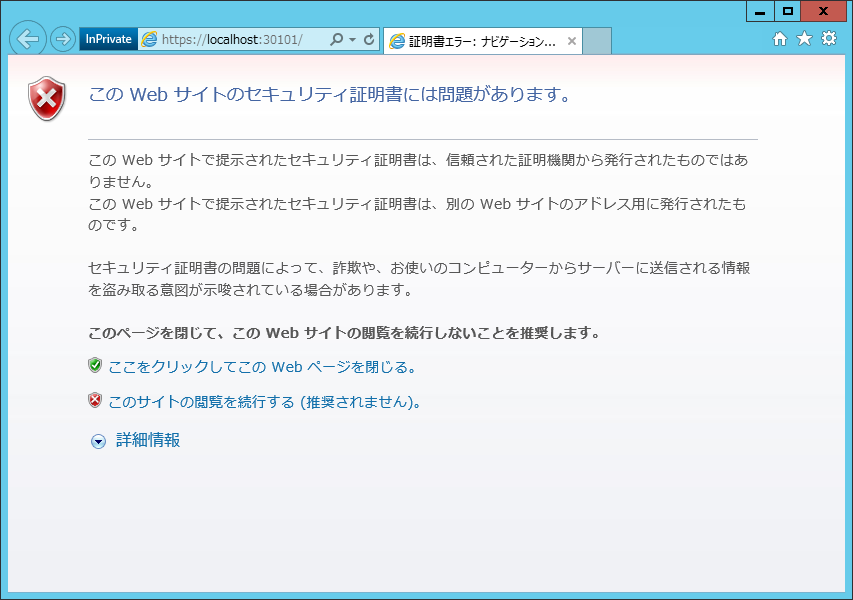
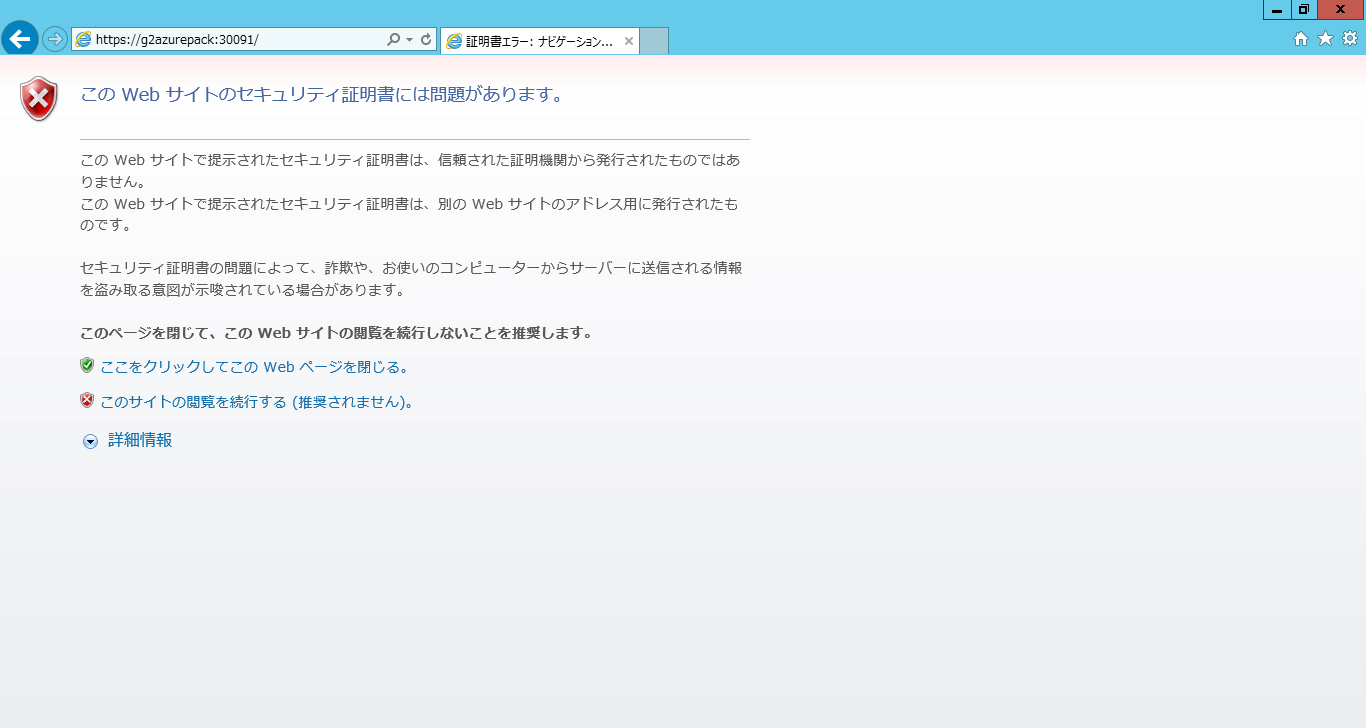
先ほどの、[続行]ボタンを押したあたりで、Windows Azure Packの構成画面が表示されます。
これは自己署名証明書で構成しているので、赤いリンクのほうをクリックします。

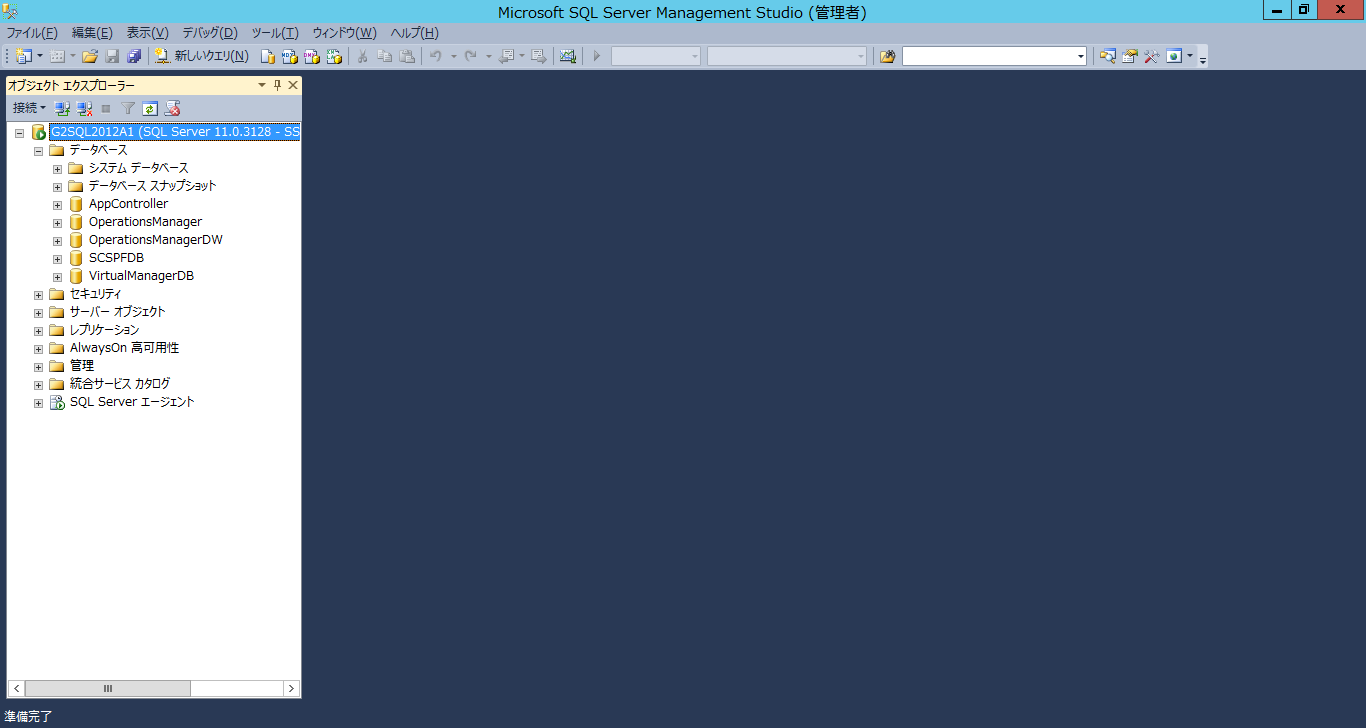
Windows Azure Packの構成前に、SQL Serverのデータベースの画面キャプチャーを載せておきます。構成後に、SQL Serverのデータベースの画面キャプチャーを載せるので、比較してもらえれば幸いです。

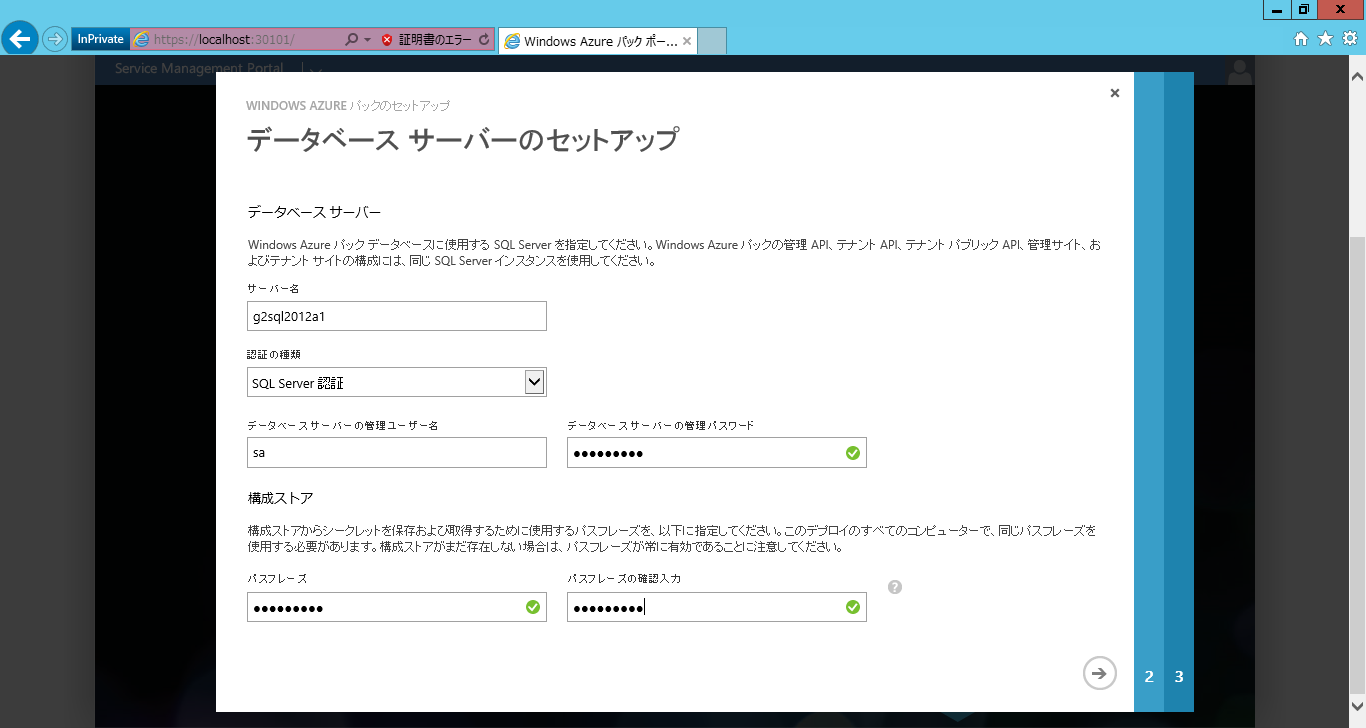
Windows Azure Packの構成画面に戻って、SQL Serverへの接続設定を入力します。
接続は、SQL Serer認証、ユーザーはSAとします。追加でWindows Azure Packをインストールする際のパスフレーズも入力します。

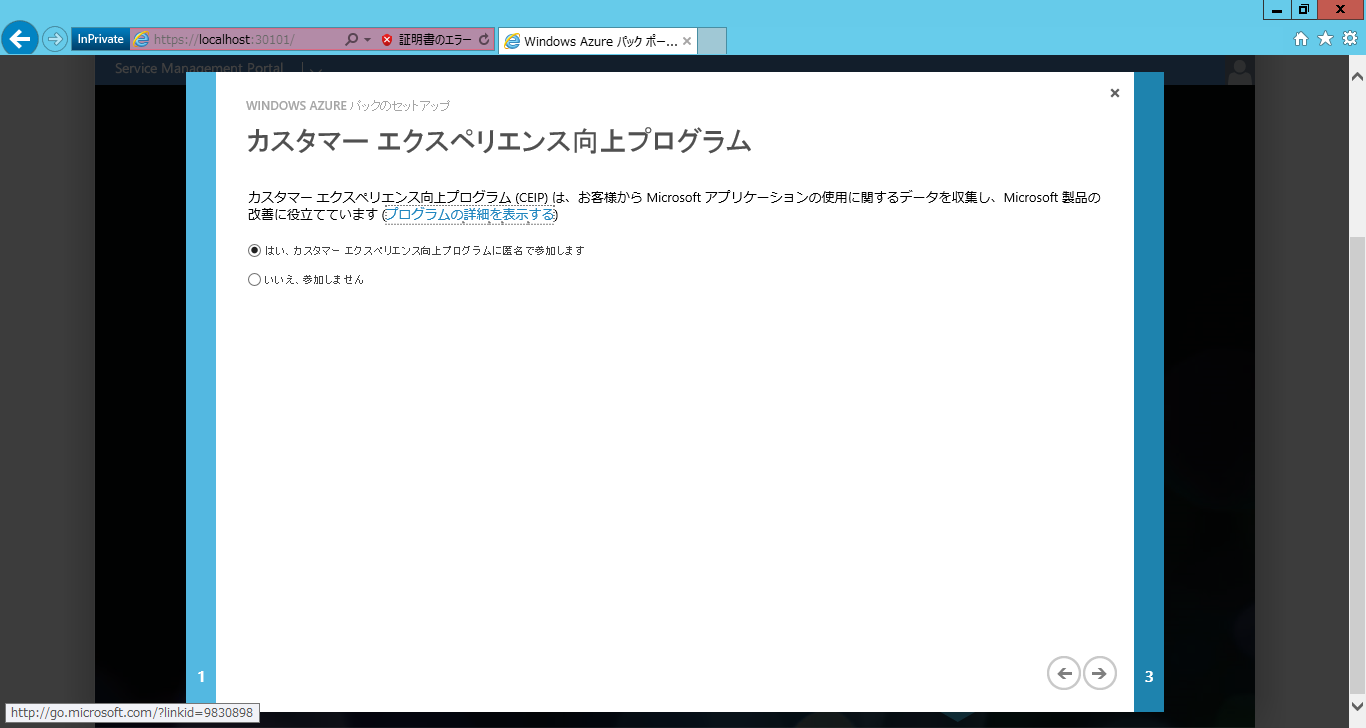
カスタマーエクスペリエンスは、どちらかを選択し、

右下のチェックアイコンをクリックして、構成を開始します。

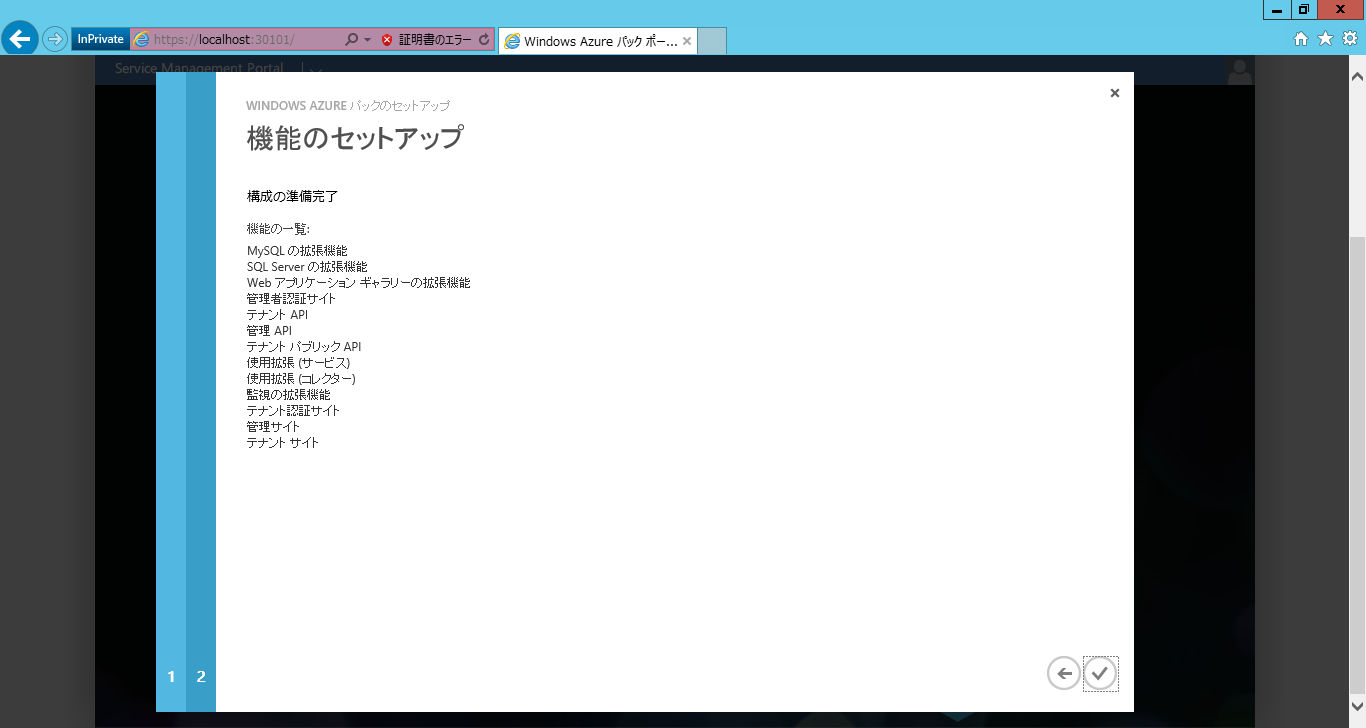
オールグリーンになれば、構成完了です。右下のチェックアイコンをクリックして、終了します。

SQL Serverのデータベース画面を確認します。Microsoft.MgmtSvc.*が、Windows Azure Packの構成により作成されたデータベースです。

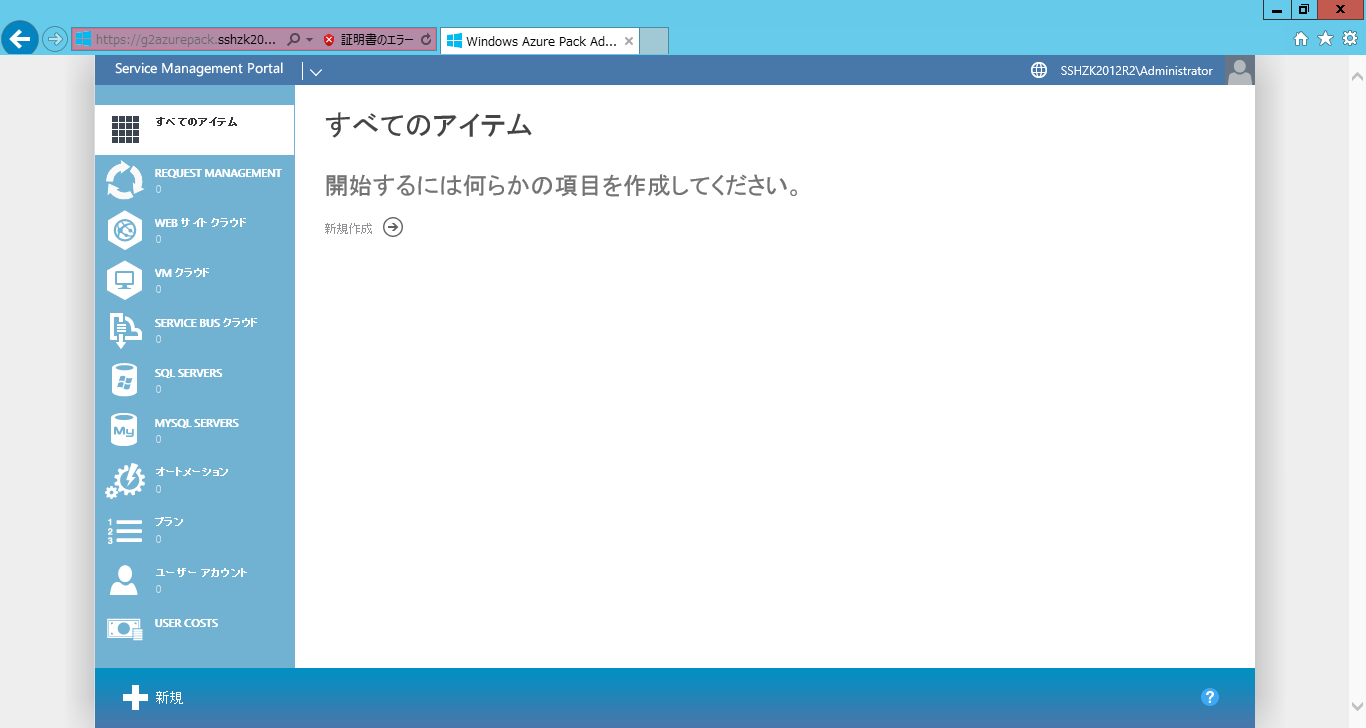
Windows Azure Pack管理コンソールにアクセスします。

途中で、認証ダイアログが出たりしますが、管理コンソールが開きました。

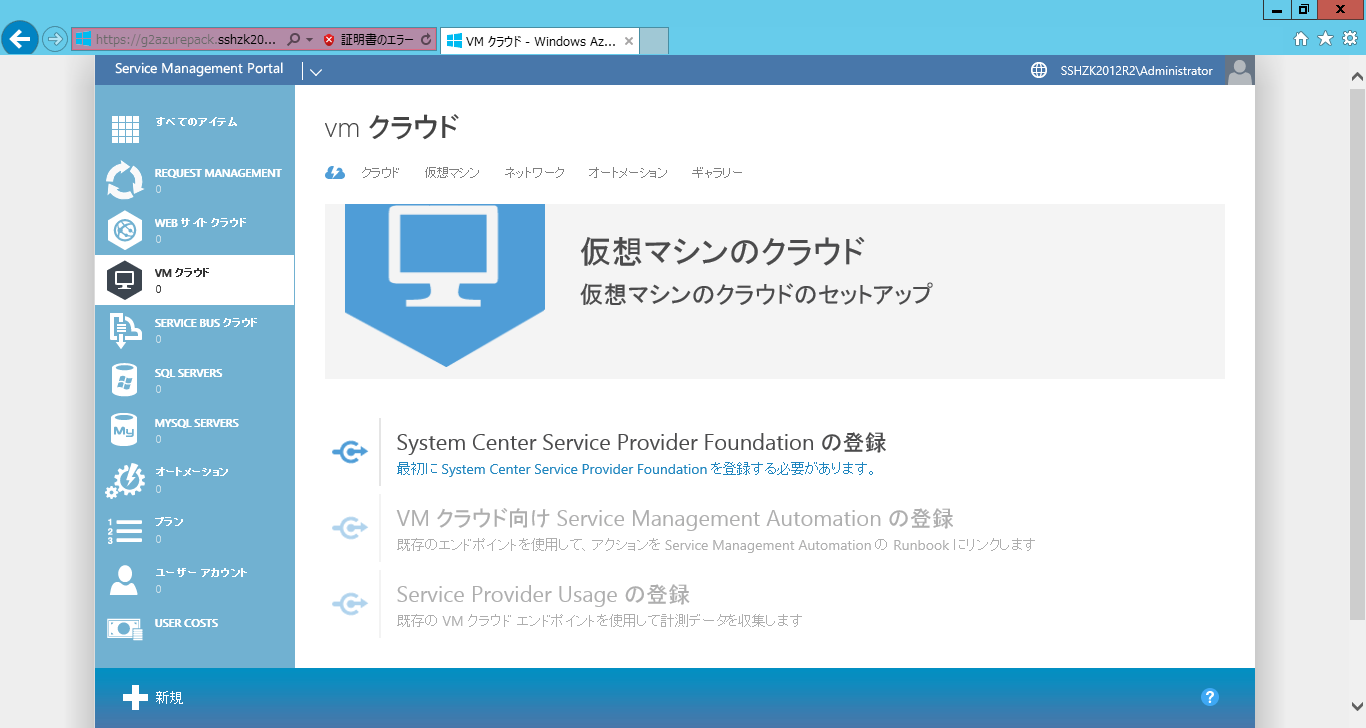
ここからSPFの設定を行います。
[VMクラウド]をクリックすると、[System Center Service Provider Foundationの登録]があるのでその下のリンクをクリックします。

https://SPFサーバー:8090を指定し、先ほど作成したローカルアカウントとそのパスワードを設定します。

設定後は、右下のチェックアイコンをクリックします。
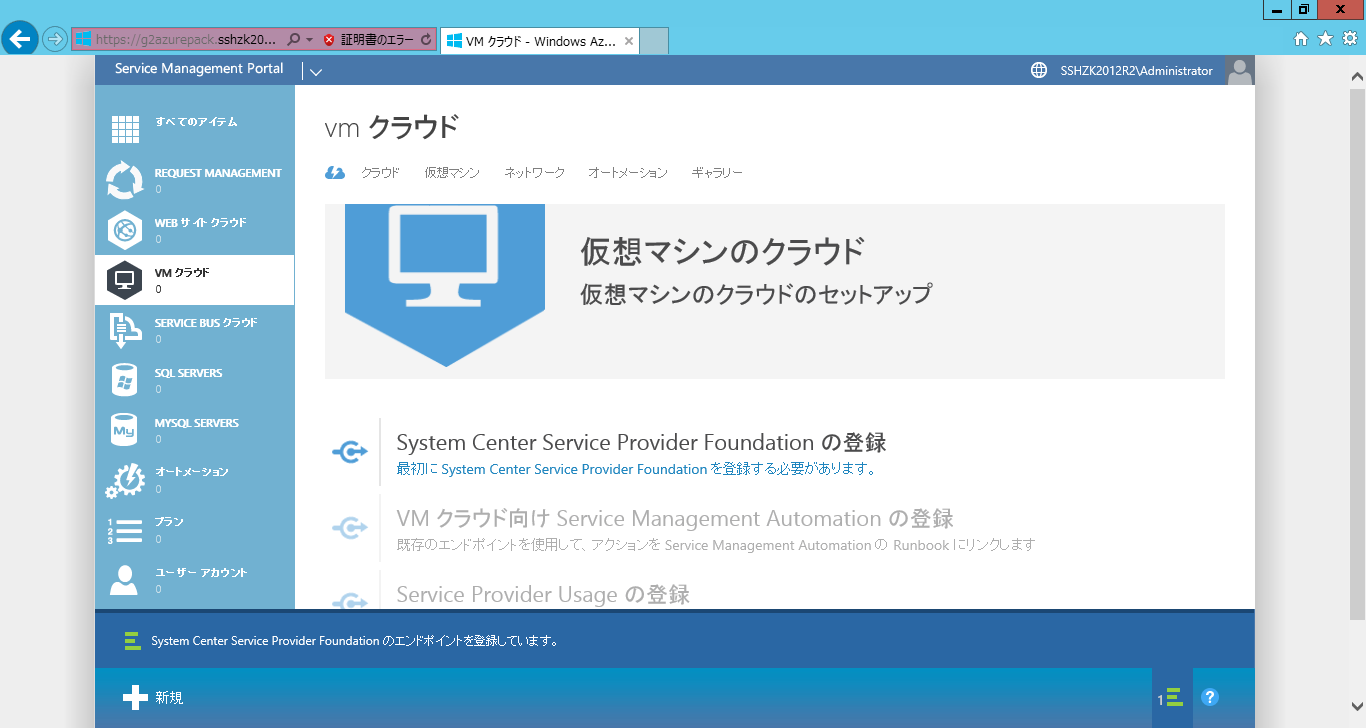
登録中。

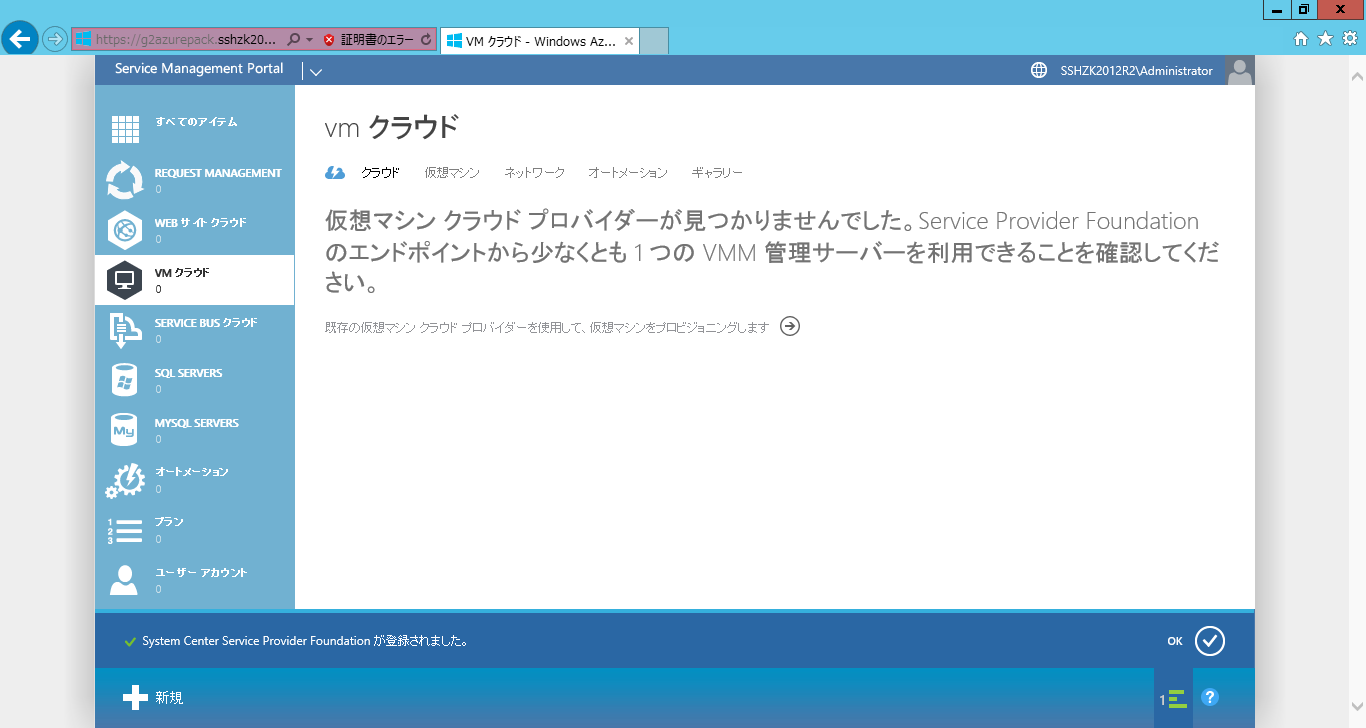
無事の登録完了しました。

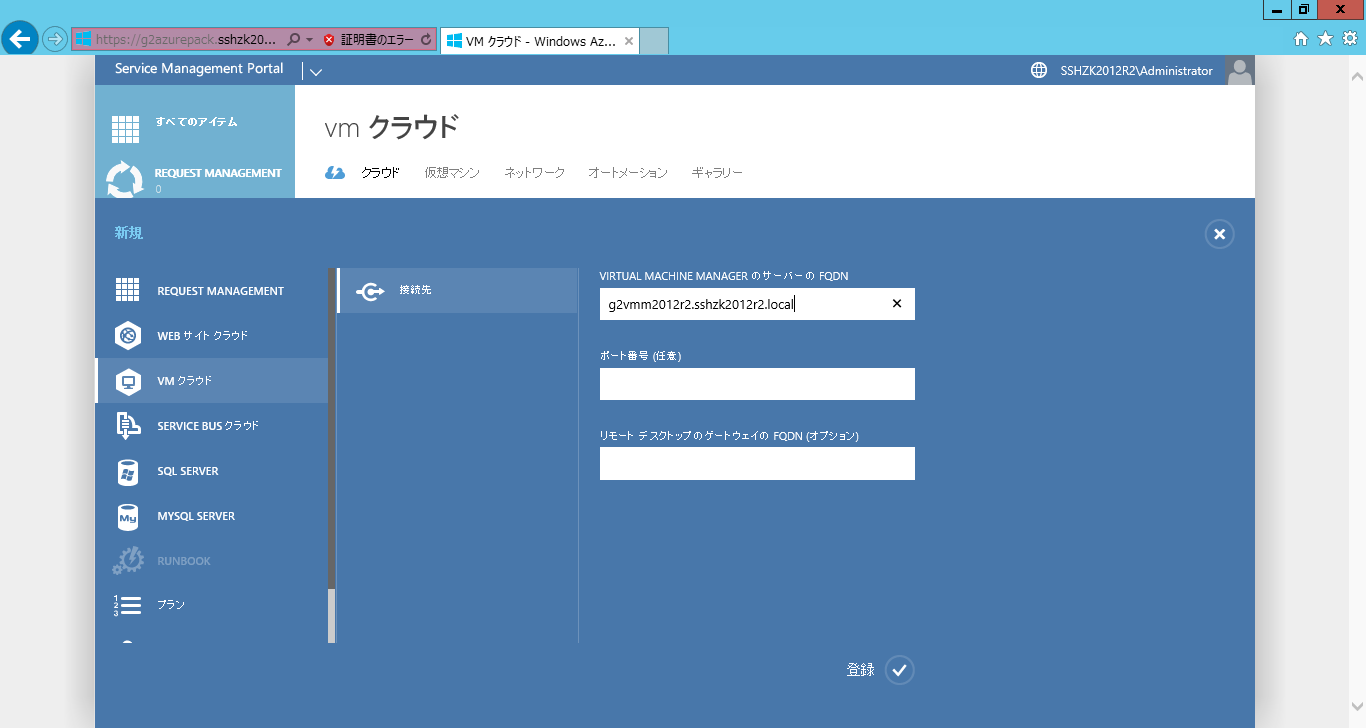
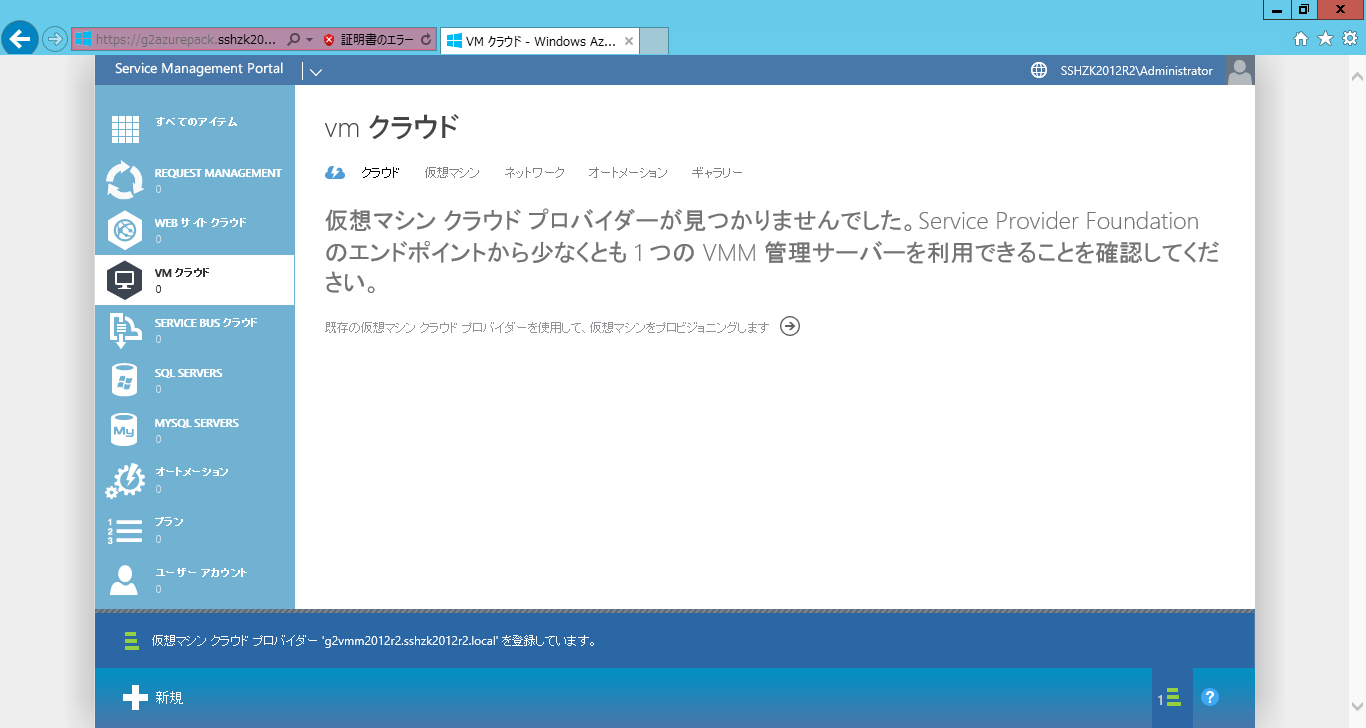
左下の[新規]をクリックし、

[VMクラウド]→[接続先]をクリックし、VMMサーバーのFQDNを入力します。

下にある[登録]ボタンを押します。
登録中。

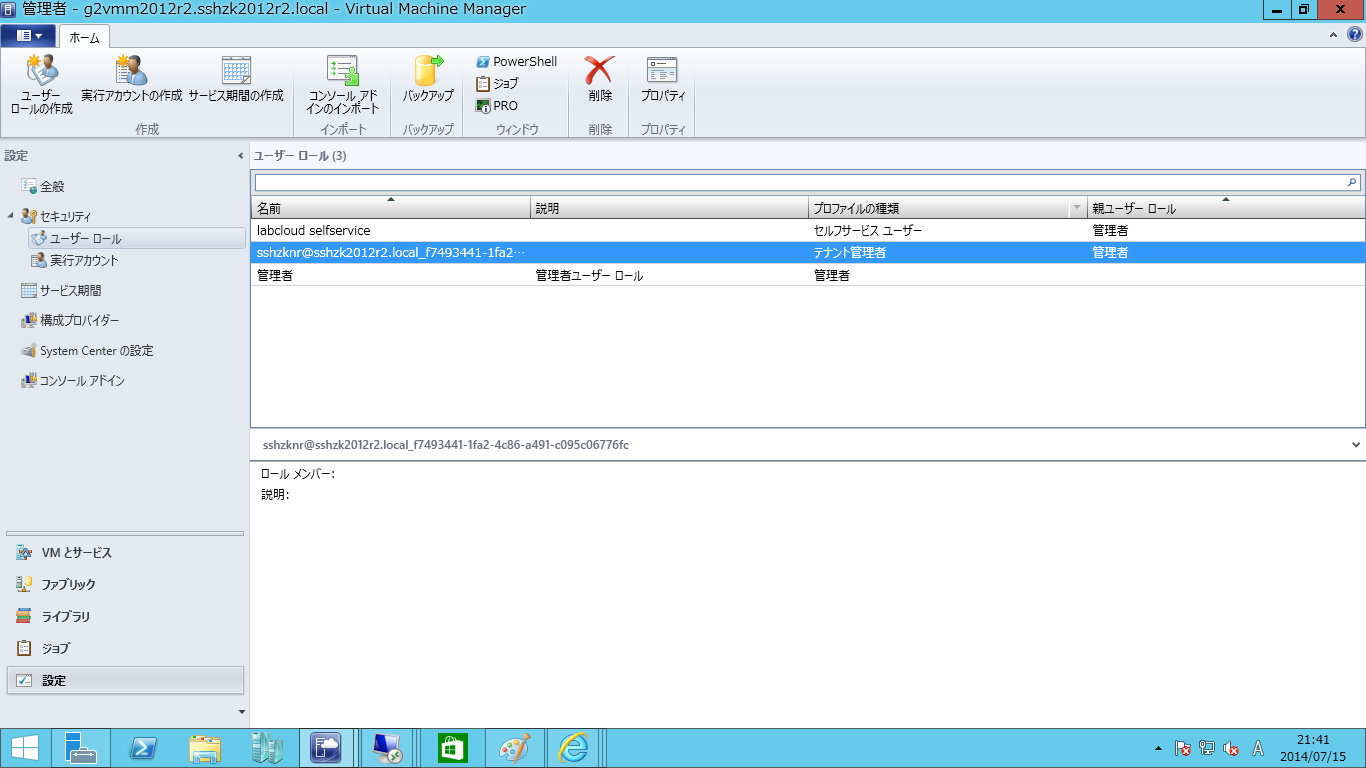
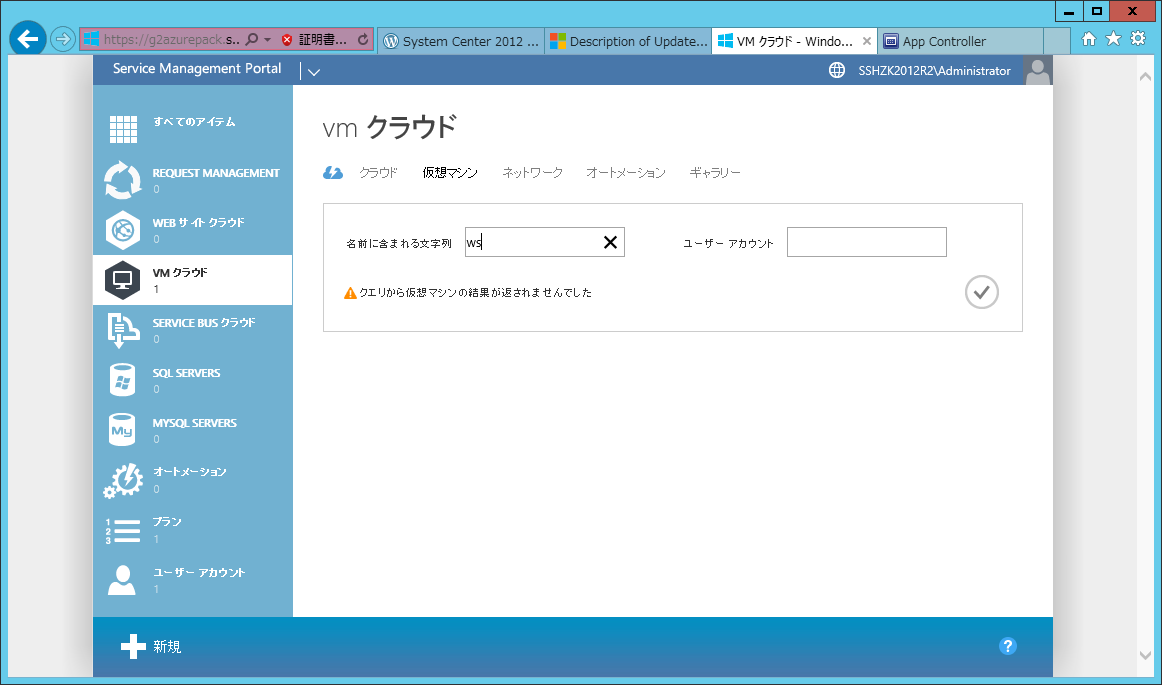
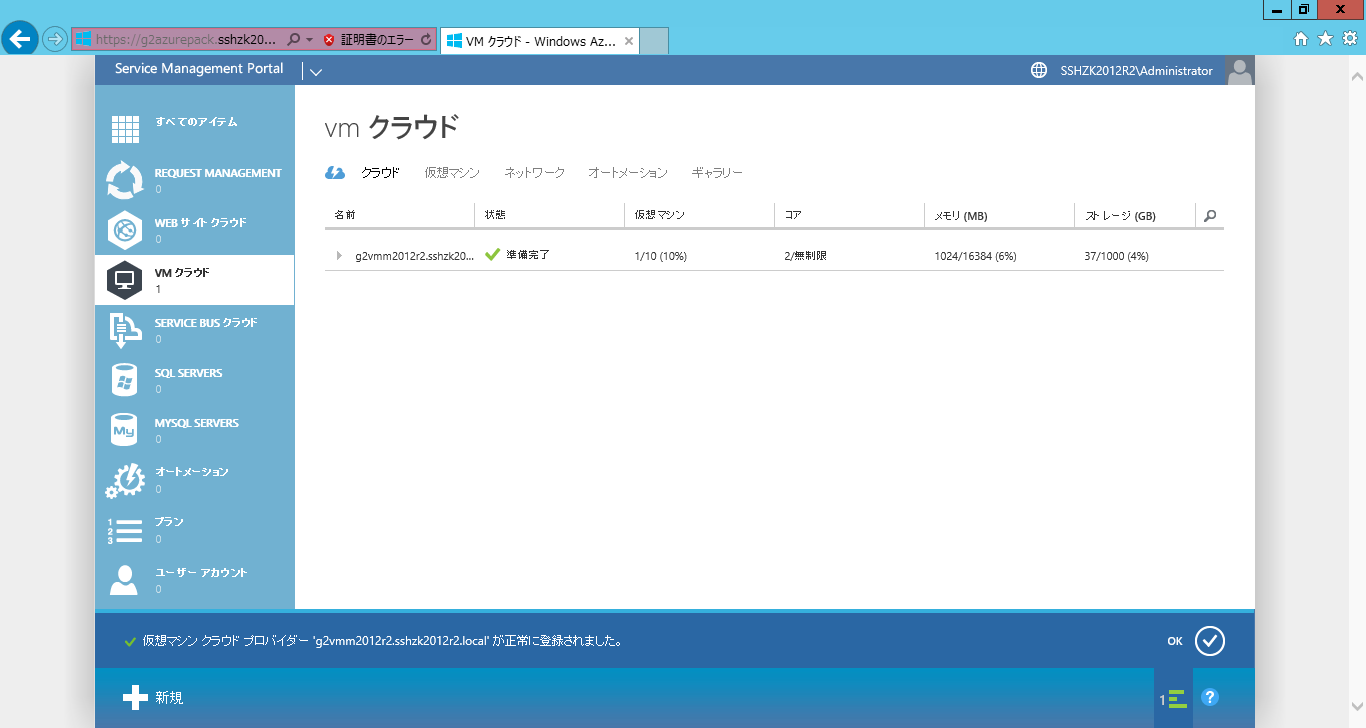
VMMのクラウドが無事に登録できました。

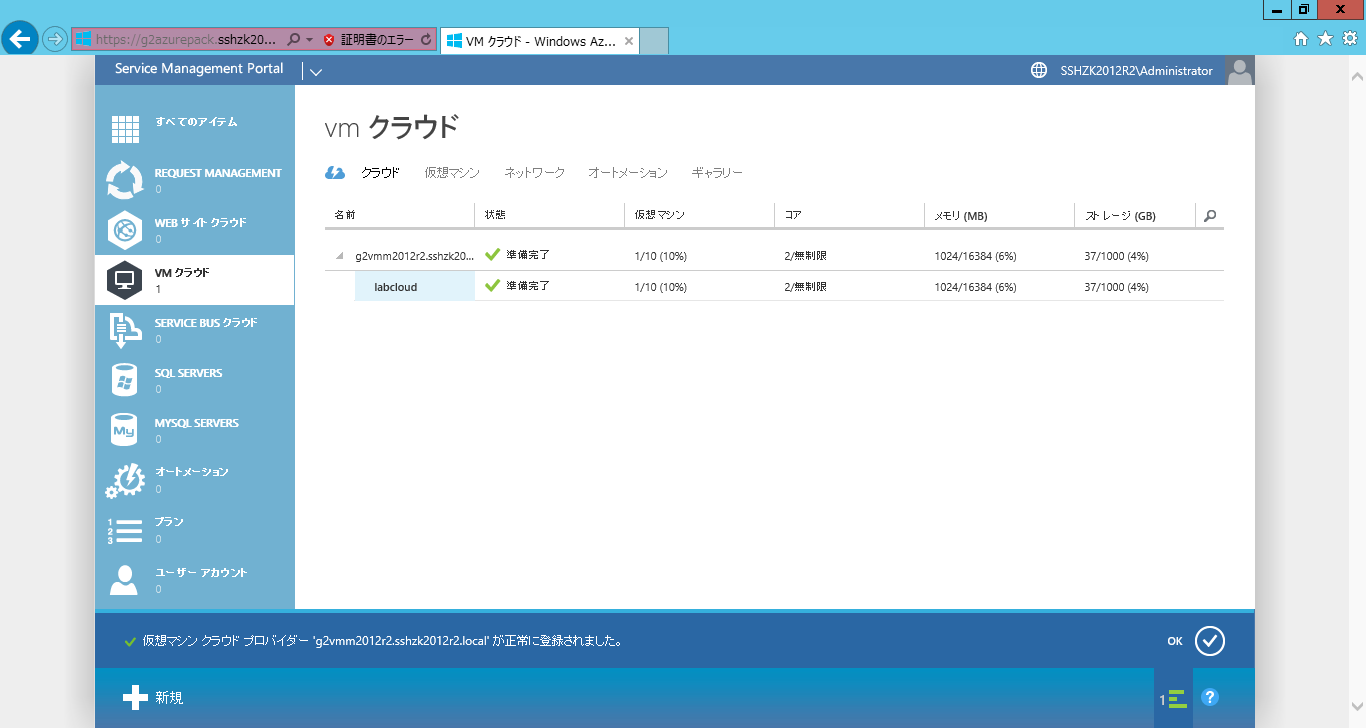
VMMで作成したクラウドの情報も参照できているようです。

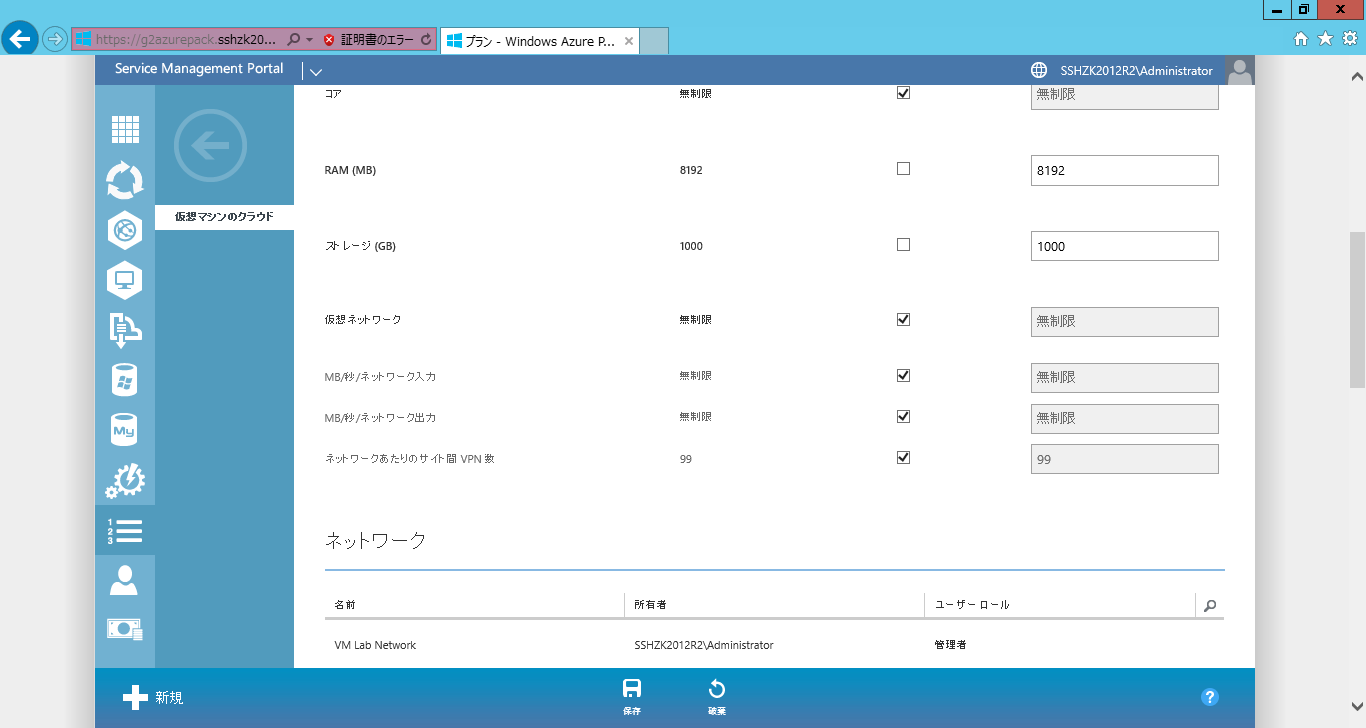
次の投稿では、プランとサブスクリプションの設定を行います。