とは言え、ちゃんと手順があります。
How to Configure Run As Accounts and Profiles for UNIX and Linux Access http://technet.microsoft.com/en-us/library/hh212926.aspx
ということで、[管理]→[実行構成]→[Unix/Linuxアカウント]をクリックし、[アクション]の[実行アカウントの作成]をクリックします。

接続にsshを使うので、"エージェントメンテナンスアカウント"を選択し、[次へ]ボタンを押します。

実行アカウントの名前を入力し、[次へ]ボタンを押します。

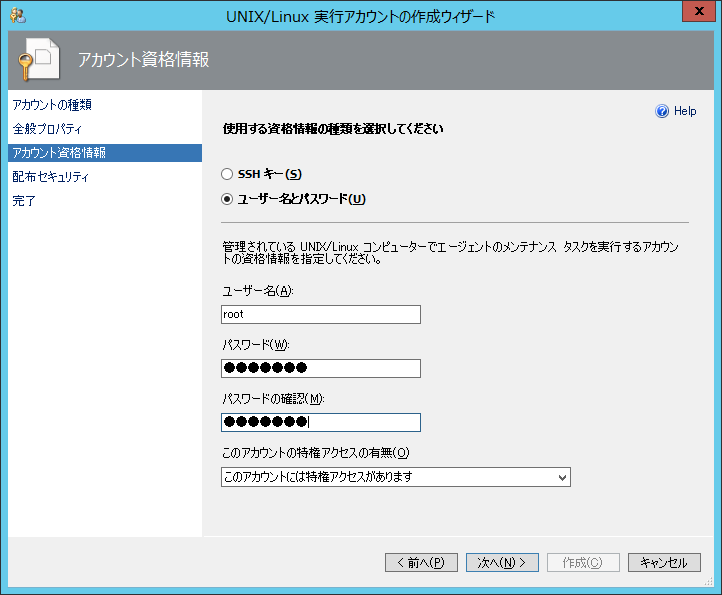
sshキーは使わずに、ユーザー名とパスワードを設定します。ここでは説明の都合でrootを使います。実際の運用ではsshキーが望ましいですね。
入力が終わったら、[次へ]ボタンを押します。
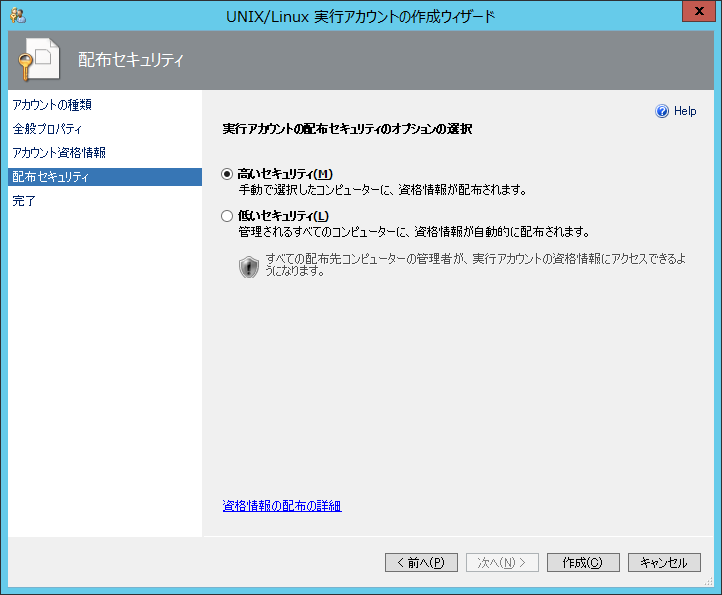
ここは[高いセキュリティ]を選択し、[作成]ボタンを押します。
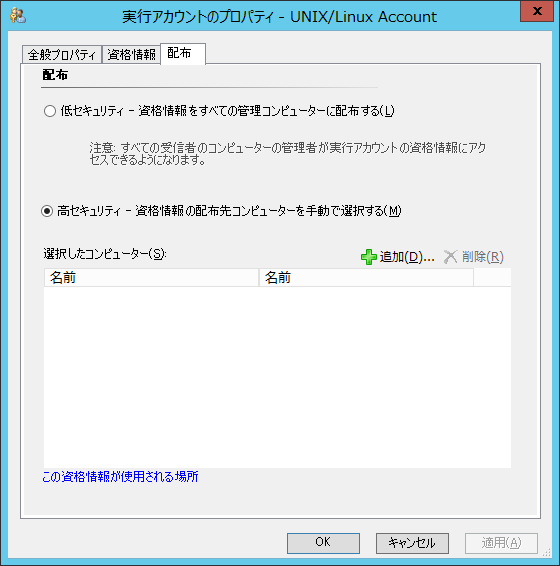
実行アカウントが作成されました。

プロパティの一部を見るとこのようになっています。
続いて実行プロファイルを設定します。[管理]→[実行構成]→[プロファイル]を選択し、真ん中のペインで"UNIX/Linuxエージェント メンテナンス アカウント]を開きます。

[次へ]ボタンを押します。

[次へ]ボタンを押します。

先ほど作成したアカウントを指定します。

アカウントが実行プロファイルに追加できました。[保存]ボタンを押します。

ウィザードが完了したので[閉じる]ボタンを押します。

以上で、実行アカウントと実行プロファイルは設定完了です。
次回は、LinuxへSC 2012 R2 OMのエージェントをインストールします。実際の失敗例を踏まえながらポイントを説明する予定です。
0 件のコメント:
コメントを投稿