
今回は、これらのソフトウェアをインストールするところから始めます。
合わせて、自習書と違いがあるようであれば、そこをフォローしていこうと思います。
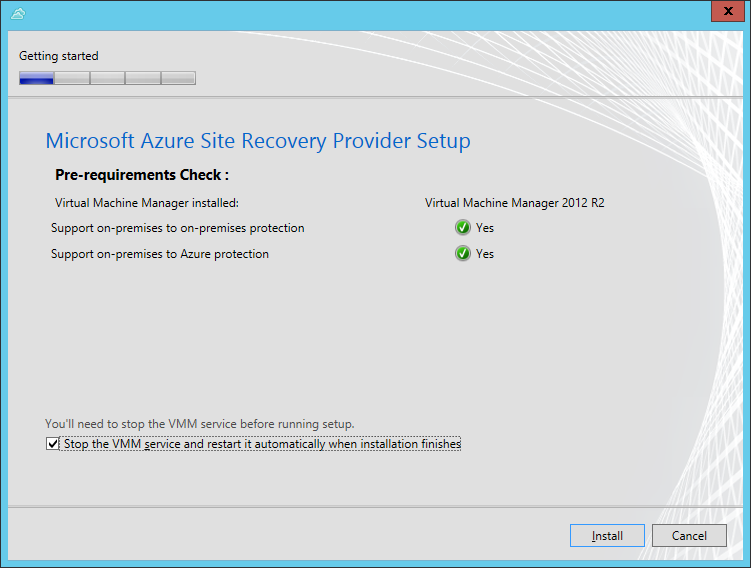
VMM用のAzure Site Recoveryプロバイダーのセットアップファイルを実行します。
[Install]ボタンを押します。
環境にあったインターネット接続を選択し、[Next]ボタンを押します。

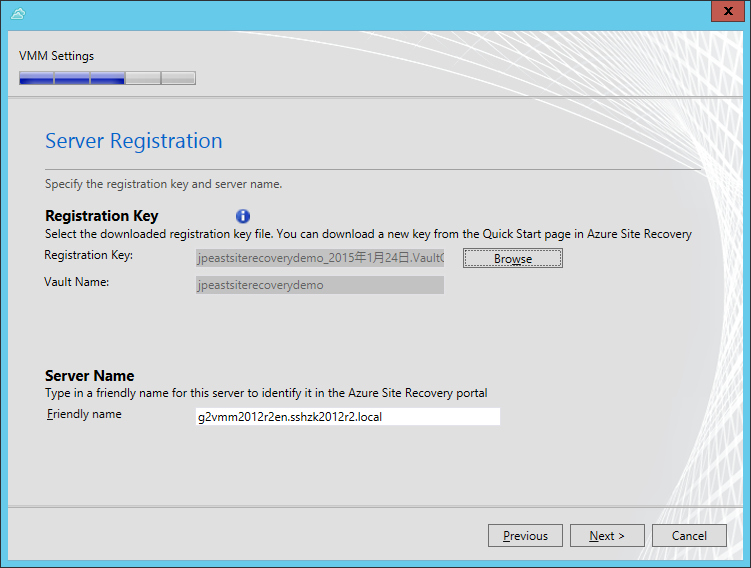
Registration Keyを登録します。

前回記事でダウンロードした"VMMサーバーへの登録キー"を選択します。登録したら[Next]ボタンを押します。
Synchronize Cloud Metadataは既定値のままとします。
Data Encryptionは、既定の保存先へ保存する設定とします。[Next]ボタンを押します。

インストールが完了しました。

Azure Site Recoveryの登録完了したことが、VMMの設定画面でもわかります。

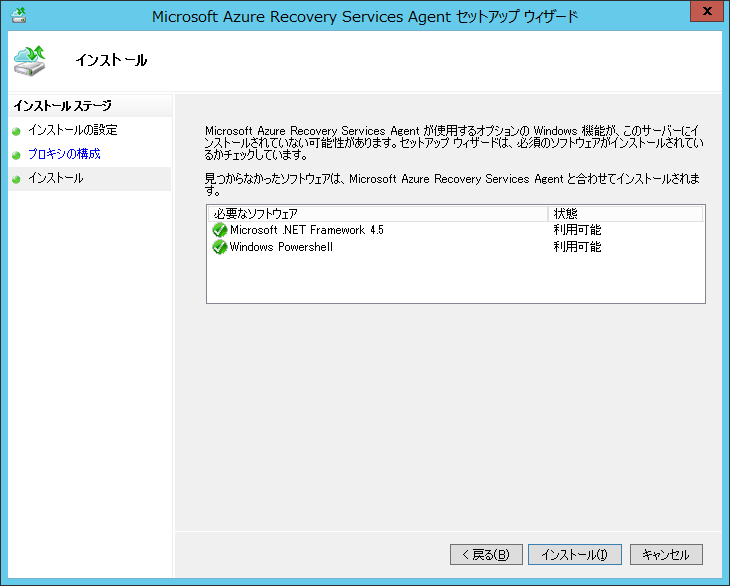
Microsoft Azure Recovery Serviceエージェントをインストールします。
インストール先は、SCVMMで管理しているHyper-Vホストになります。
[次へ]ボタンを押します。

プロキシ設定を既定のままとし、[次へ]ボタンを押します。

[インストール]ボタンを押します。
[閉じる]ボタンを押します。[登録 処理を続行]ボタンを押さない理由は、自習書の45ページに記載されているので、確認してみてください。

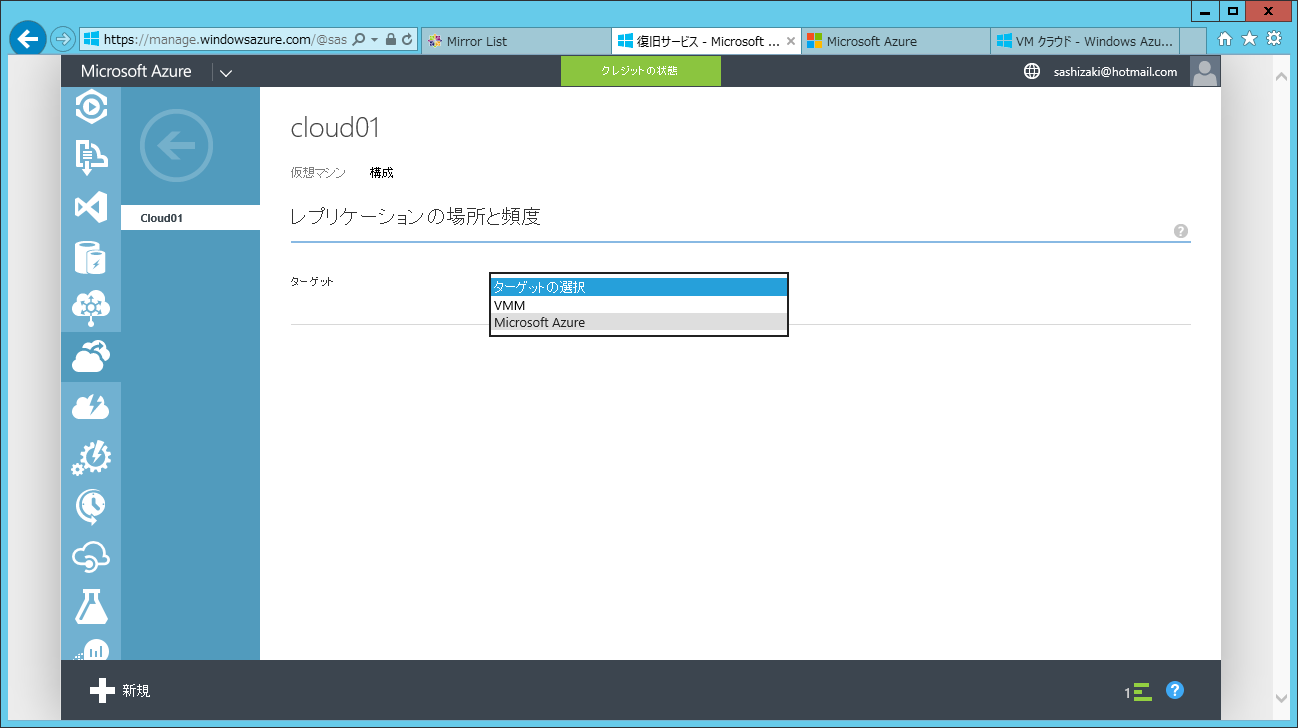
Azureの画面に戻ります。VMクラウドの保護設定を行うので、資格情報コンテナーを開きます。

[保護された項目]をクリックします。

SCVMM側で作成されているVMクラウドが表示されてます。→をクリックします。

[保護設定の構成]をクリックします。

ターゲットとして[Microsoft Azure]を選択します。
サブスクリプション、作成したストレージアカウントを選択します。保存データの暗号化は、規定値のままです。

ということで、VMクラウドの保護設定を自習書どおりに終えました。
SCVMMの画面に戻ります。
VMクラウドにあるVMのプロパティを開きます。

ここでは、まだ保護されていないことがわかります。
[保存]をクリックします。[はい]を押して設定を確定します。

次回は、VMに対してのネットワーク設定をマッピングしていきます。
0 件のコメント:
コメントを投稿