System Center VMM 1711のセットアップその1の続き。
System Center Technical Preview (Semi-Annual Channel – version 1711)
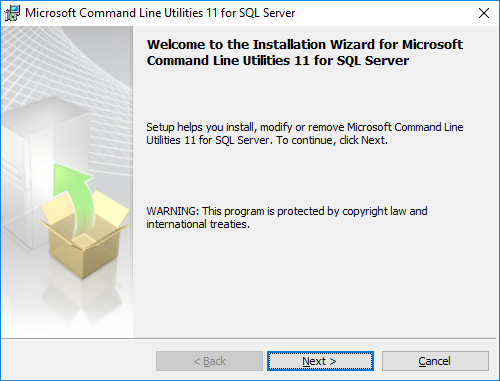
Evaluationsからダウンロードしたファイルを実行し、インストール用のファイルを展開します。
[Next]ボタンを押します。

ライセンス条項を受け入れます。[Next]をクリック。

展開場所は、既定値のまま。[Next]をクリック。

[Extract]をクリック。

インストールファイルの展開終了。[Finish]をクリック。

展開した中からセットアッププログラムを実行します。
ここは[Install]をクリック。

全部入りにします。[Next]をクリック。

プライベートキーは、今までのものが使えました。[Next]をクリック。

ライセンス条項を受け入れます。[Next]をクリック。

[Next]をクリック。

インストール先は既定値のまま。[Next]をクリック。

データベースは同一サーバーです。

データベースサーバーに接続すると、データベースのインスタンスを認識します。[Next]をクリック。

サービスアカウントとしてドメインアカウントを指定します。
DKMの保存先も指定します。

ドメインアカウントをローカル管理者グループに入れていなかったので追加。前のウィザードで[Next]をクリック。

通信ポートは、既定値のまま。[Next]をクリック。

ライブラリーの設定は既定値のまま。[Next]をクリック。

インストールのサマリーを確認。[Install]をクリック。


インストール中。

インストール完了。[Close]をクリックしてウィザードを閉じます。

さてこれで、What's new in System Center VMM 1711 (Technical Preview)の内容を見ていくことができそうです。
System Center Technical Preview (Semi-Annual Channel – version 1711)
Evaluationsからダウンロードしたファイルを実行し、インストール用のファイルを展開します。
[Next]ボタンを押します。

ライセンス条項を受け入れます。[Next]をクリック。

展開場所は、既定値のまま。[Next]をクリック。

[Extract]をクリック。

インストールファイルの展開終了。[Finish]をクリック。

展開した中からセットアッププログラムを実行します。
ここは[Install]をクリック。

全部入りにします。[Next]をクリック。

プライベートキーは、今までのものが使えました。[Next]をクリック。

ライセンス条項を受け入れます。[Next]をクリック。

[Next]をクリック。

インストール先は既定値のまま。[Next]をクリック。

データベースは同一サーバーです。

データベースサーバーに接続すると、データベースのインスタンスを認識します。[Next]をクリック。

サービスアカウントとしてドメインアカウントを指定します。
DKMの保存先も指定します。

ドメインアカウントをローカル管理者グループに入れていなかったので追加。前のウィザードで[Next]をクリック。

通信ポートは、既定値のまま。[Next]をクリック。

ライブラリーの設定は既定値のまま。[Next]をクリック。

インストールのサマリーを確認。[Install]をクリック。


インストール中。

インストール完了。[Close]をクリックしてウィザードを閉じます。

さてこれで、What's new in System Center VMM 1711 (Technical Preview)の内容を見ていくことができそうです。