一部しっくり来ていませんが、一旦まとめておきます。
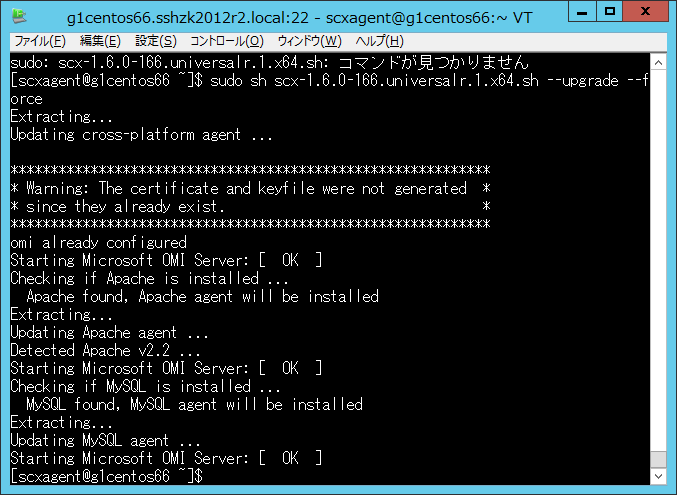
※Open Source Software Management Packs for System Center 2016 Technical Preview 2 その3で、scx-1.6.0-166.universalr.1.x64.shを入れているそこも併せてご覧ください。
今回、CentOS 6.6をターゲットにしましたので、MySQL 5.1を使っています。
MySQLには、mysql_secure_installationの実行、System Center 2016 TP2 OMのLinux Agentが導入されていることを前提としています。
System Center 2016 Technical Preview 2 Management Packs for Open Source SoftwareにあるMySQLMPGuide.docxの設定手順をトレースします。
具体的には、「Configuring the MySQL Server Management Pack」の章です。
このガイド、操作順が若干入り乱れているので、実際に実行した順番で書き進めていきます。
Deploying and Enabling the MySQL OMI Providerを行うべきですが、先にConfiguring the MySQL OMI Providerを行います。
といいつつ、Creating a MySQL Userを先に進める必要があります。
MySQLにログインして、scxagentというユーザーを作成します。

続いて作成したアカウントへ権限を割り当てます。
GRANT SELECT ON information_schema.* TO ‘monuser’@’localhost’;一つ目のコマンドは、エラーになりました。Access denied for user 'root'@'localhost' に似たエラーを見つけましたが、とりあえず、このままとしておきます。
GRANT SELECT ON mysql.* TO ‘monuser’@’localhost’;

続いて、MySQL OMI Authentication Fileを実行します。まず、
1. Run the management pack task “Set Default MySQL Credentials”実行します。ただ、これは、下記のようにターゲットのMySQLが検出される必要があります。ここに出てくるまで数時間程度待つ必要があるみたいです。

“Set Default MySQL Credentials”をクリックすると下記の画面が出てきますので、値を設定します。

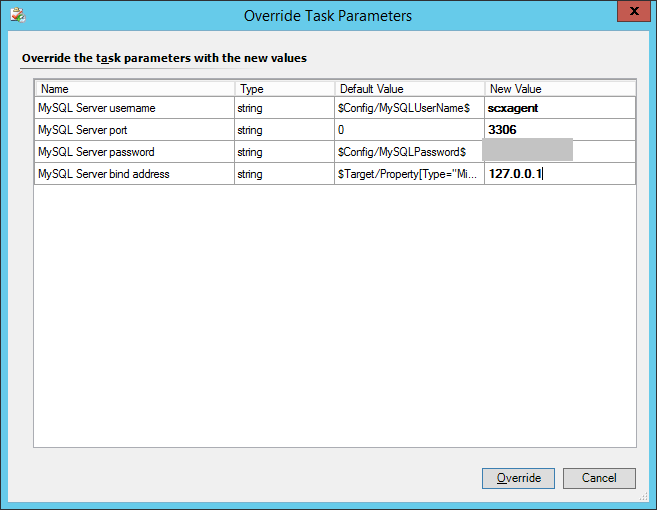


最後が、Successなんですけど、Task OutputがFaultになっています。。。ここが納得しかねる状態です。
次にAuthentication Fileを用意されている
/opt/microsoft/mysql-cimprov/bin/mycimprovauthコマンドで、作成します。

作成したファイルを内容確認しますが、sudoなどの権限昇格が必要ですので、ご注意ください。
scxagentとそれ以外用の二つを用意してみました。

Deploying and Enabling the MySQL OMI Providerを実施します。
以上で、追加の構成は完了しました。
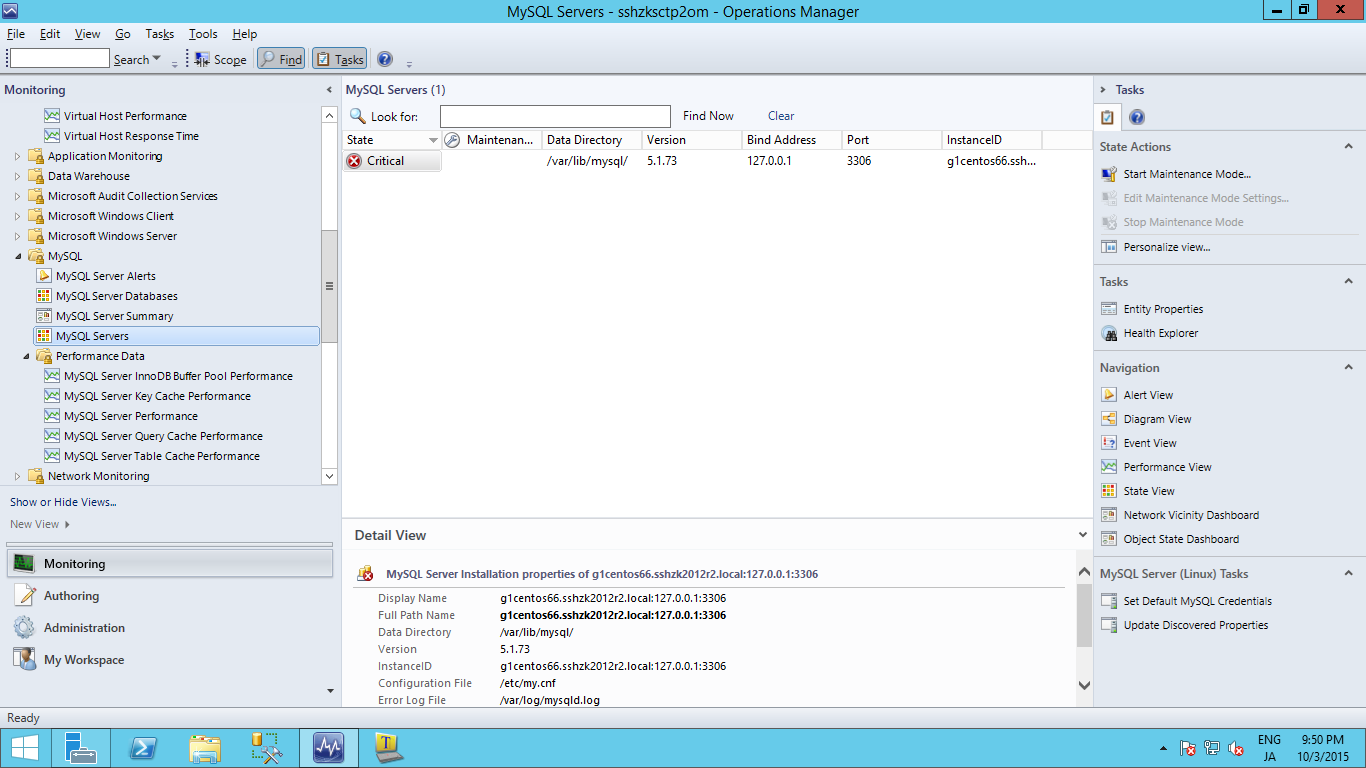
数時間ほどたつと、下記のように情報が収集できます。


以下の画面は監視データが、まだうまく収集できていないようです。

以降は、パフォーマンスの監視データの収集例となります。


以上、ご参考になれば幸いです。
0 件のコメント:
コメントを投稿