以下、備忘録です。
setupを起動し、Installationを選択

SQL Serverの新規インストールを選択

ちなみに、ここからManagement Studioがインストール可能。
プロダクトキーの入力画面

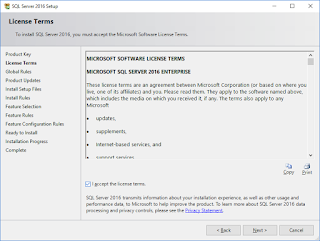
ライセンス条項の画面

更新プログラムの確認および適用画

インストールルールの画面、エラーがない事を確認

SCOMは、データベースエンジン以外に、フルテキスト検索が必要

ドキュメントを追加
そして、インストール先をFドライブ(8本のディスクを記憶域プールでまとめたもの)へ変更

デフォルトのインスタンスを指定

SQL Serverの各サービスアカウントとして、ドメインのアカウントを指定

照合順序は、英語環境での既定値を選択

認証は、Windows認証のままとし、管理者アカウントとしてdomain adminsを追加

データベースの格納先がFドライブになっていることを確認

tempDBは、既定値のまま

ファイルストリームは、既定値のまま

レポーティングサービスは、インストールのみを選択

設定値サマリー


8本のディスクを記憶域プールでまとめたドライブでは、10分ほどでインストール完了

Download SQL Server Management Studio (SSMS)より最新版をダウンロードしてインストール


次回は、System Center 2016 Operations Managerのセットアップに必要なアカウントの準備、インストールをまとめます。
0 件のコメント:
コメントを投稿