結論から申し上げると、Update Rollup 3と手順自体は大差ありません。では早速、手順を確認していきます。
Windows Updateからインストールを行います。


Operations Manager Update Rollup 4は再起動不要でした。

SQL Scriptを適用します。

SQL ScriptをSQL Server上へコピーします。
※本環境は、Operations ManagerとSQL Serverを別々のホストへインストールしています。

useを使って、Operations ManagerのデータベースにSQLスクリプトを適用します。


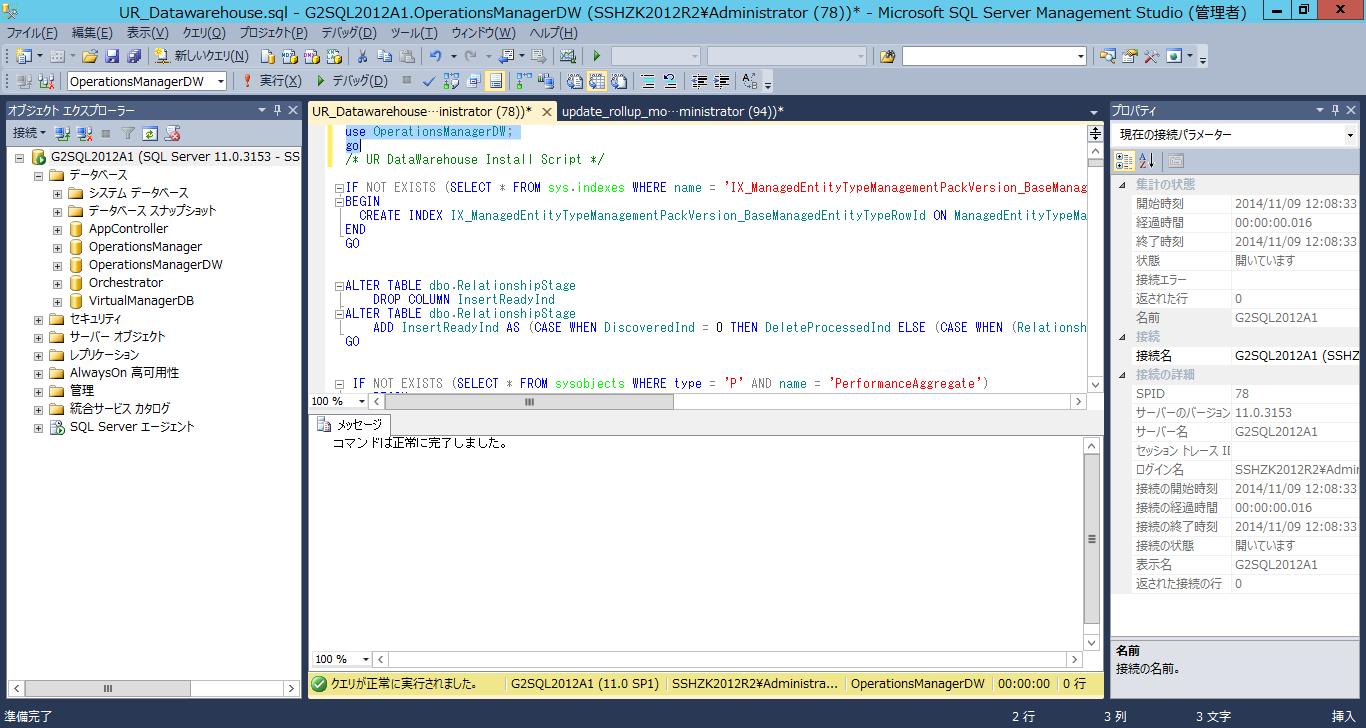
続いて、Operations ManagerのDWデータベースを更新します。
SQL Scriptの改行コードがそろっていないらしく警告が出ました。ここは[はい]ボタンを押して揃えておきます。

useを使って、Operations ManagerのDWデータベースにSQLスクリプトを適用します。

続いて、管理パックの更新を行います。
日本語版ですと、[管理]をクリック後、[管理パック]をクリックします。[管理パックのインポート]をクリックします。

[追加]ボタンを押します。

管理パックの依存性をオンラインで解決するように設定します。

管理サーバーにある管理パックの更新版が
%SystemDrive%\Program Files\System Center 2012 R2\Operations Manager\Server\Management Packs for Update Rollups
にあるので、こちらを開いて管理パックを読み込ませます。


すでにUpdate Rollup 3で依存性を解決しているので、管理パックを更新(インストール)します。

管理パックが更新できました。

この後、Update Rollup 4 for System Center 2012 R2 Operations Manager http://support.microsoft.com/kb/2992020/en-usに沿って、UNIX/Linux監視の管理パックを更新していきます。
この管理パックでは、Rehが正式にサポートされました。

管理パックの更新については、<System Center 2012 R2 Operations Manager Update Rollup 2のインストールと同様なので、省略します。
0 件のコメント:
コメントを投稿